10 Pink Crochet Tulip Bouquet DIY Ideas That Actually Looks Like Real Tulips
Most crochet flower tutorials promise something that looks like a real bloom and deliver a lumpy pink pom pom instead. Six stitched petals joined the wrong way, and suddenly your tulip looks more like a cabbage. It’s not a skill problem. A handful of small technique choices, how the petals overlap, how tight the join is, how the stem gets wired, separate a tulip that reads as a tulip from one that doesn’t. This pink crochet tulip bouquet DIY walks through those choices step by step, so the flowers you end up with actually look like the ones sitting in a vase on a table.
Tulips happen to be one of the friendlier flowers to start with if you’ve only crocheted a scarf or two before. There’s no lace, no fiddly stitch counting. Most of what makes a tulip look right or wrong happens in how you assemble the pieces, not in the crochet itself.
1. Why Crochet Tulips Are a Beginner Friendly Flower to Start With
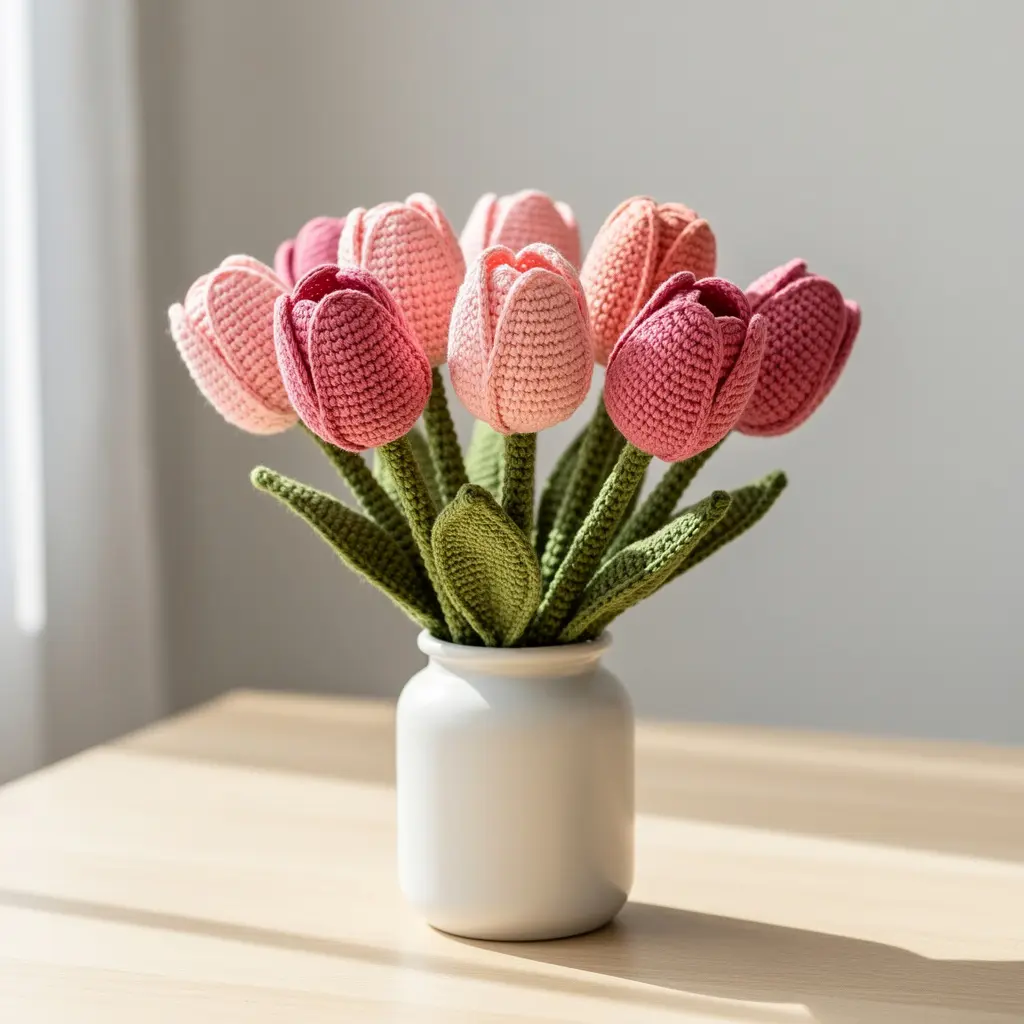
A tulip is basically six petals overlapped into a cup. That’s it. No delicate lace work, no stitch count gymnastics, just a simple shape repeated six times and joined together.
Once you’ve got the pattern down, each head takes about 20 to 30 minutes. A bouquet of five or six tulips is a weekend project, not something you’ll still be untangling yarn for in a month.
And because each flower is quick, mistakes are cheap. Mess up your first tulip and you’ve lost half an hour, not an entire evening. Fix your tension, try again, move on.
That low stakes quality is honestly the best reason to start here instead of a more complicated crochet flower. You’re not committing to hours of intricate lace before you even know if you like the process. You can sit down after dinner, make one tulip, and decide from there whether you want a full bouquet or just the one flower on your windowsill.
2. Choosing the Right Yarn Weight and Pink Shades
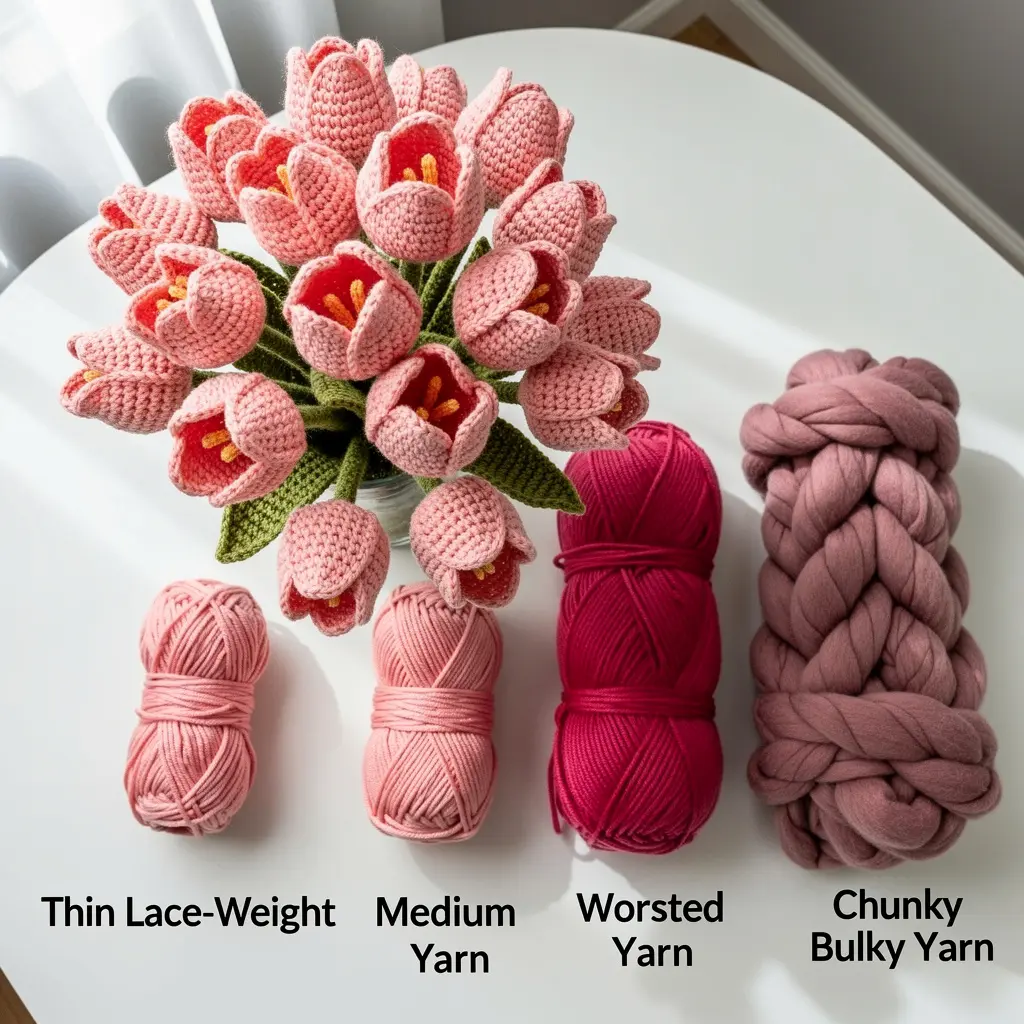
Worsted weight yarn, sometimes labeled medium or category four, holds a shape close enough to a real tulip’s slightly stiff petal. Go thinner and the petals flop instead of cupping the way a tulip should.
Mixing Shades for a Realistic Bouquet
Real tulips in a vase are never one identical pink. Grab two or three shades, something pale and blush next to something deeper and closer to rose, and spread them through the bouquet. Five tulips in the exact same color read as fake faster than almost anything else on this list.
Craft stores sell yarn in small skeins for exactly this reason. You don’t need a full skein of three different pinks, just enough for a handful of petals in each shade, so buying small is both cheaper and more practical here than committing to one big skein of a single color.
3. Gathering the Basic Supplies Before You Start
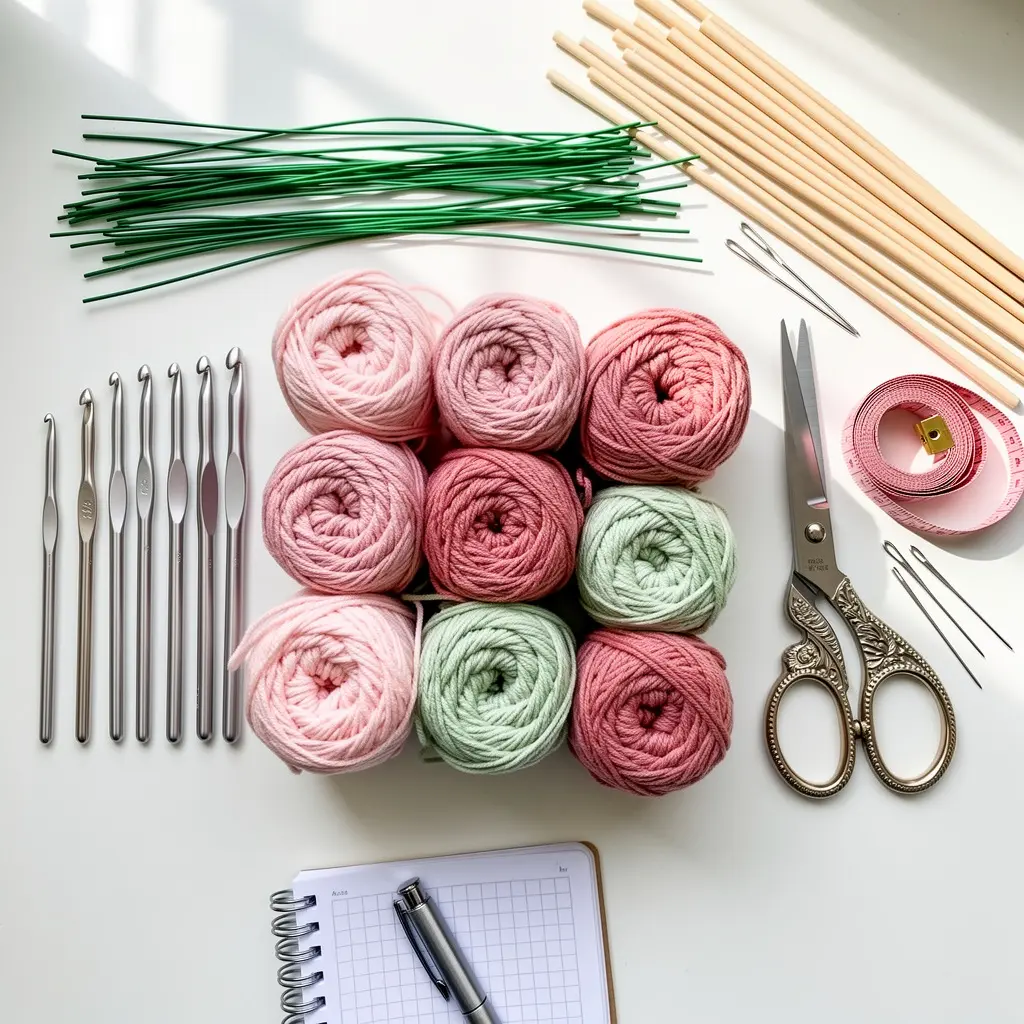
You’ll need a hook sized to your yarn (a 4.5mm or 5mm works for worsted weight), a tapestry needle, 18 to 20 gauge floral wire for the stems, and floral tape.
Green yarn covers the stem wrapping and leaves. All told, supplies for a five tulip bouquet run about $15 to $25, less if you already own a hook.
4. Crocheting the Petals in Simple Rows
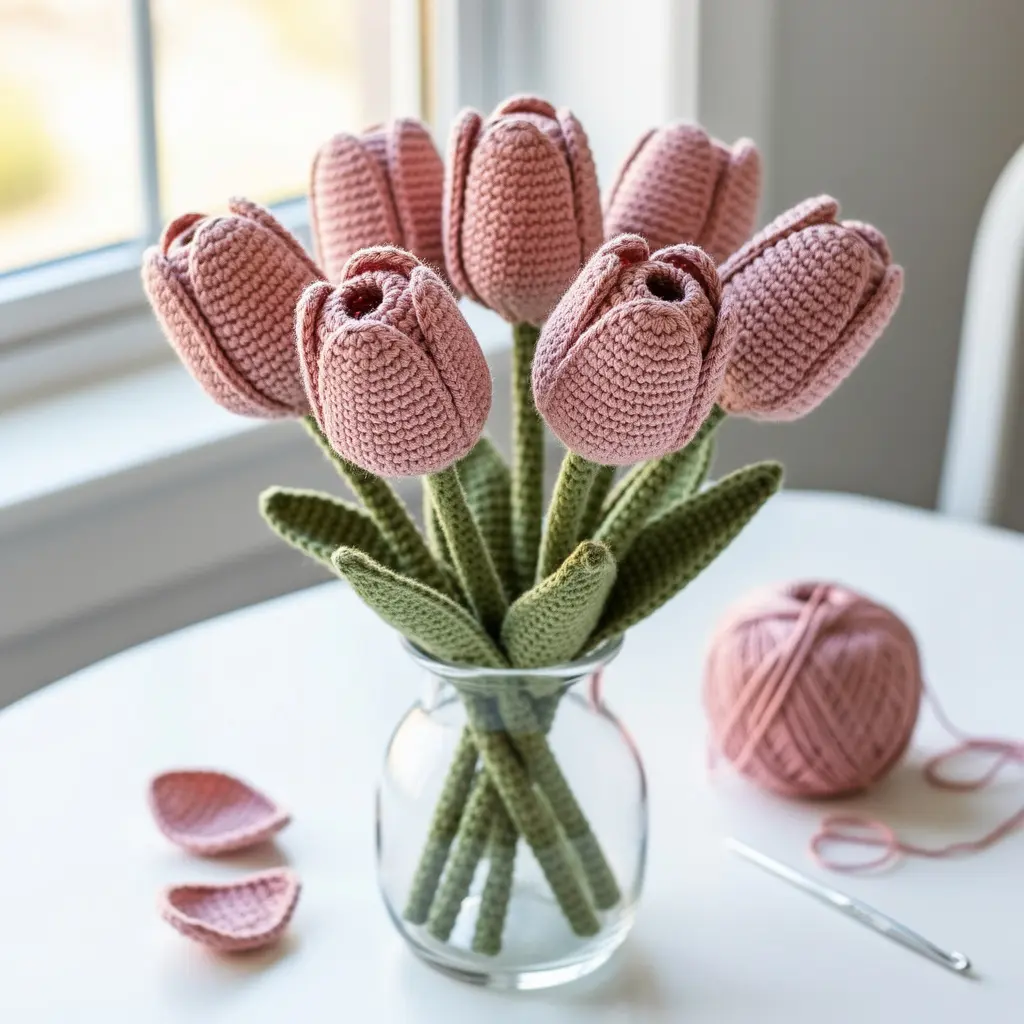
Six petals per flower, crocheted individually, joined later. Each one starts as a short foundation chain, worked up in single or half double crochet with a slight increase to round out the top, then decreased back down to a point.
Don’t obsess over making one perfect petal. Obsess over keeping tension the same across all six. Uneven tension is what makes a finished tulip lean crooked.
A quick trick here: crochet all six petals in one sitting rather than one at a time over several days. Your hands settle into a rhythm after the second or third petal, and that consistency shows up in the finished flower far more than trying to nail petal number one before moving on.
5. Shaping the Petals Into a Realistic Cup Form
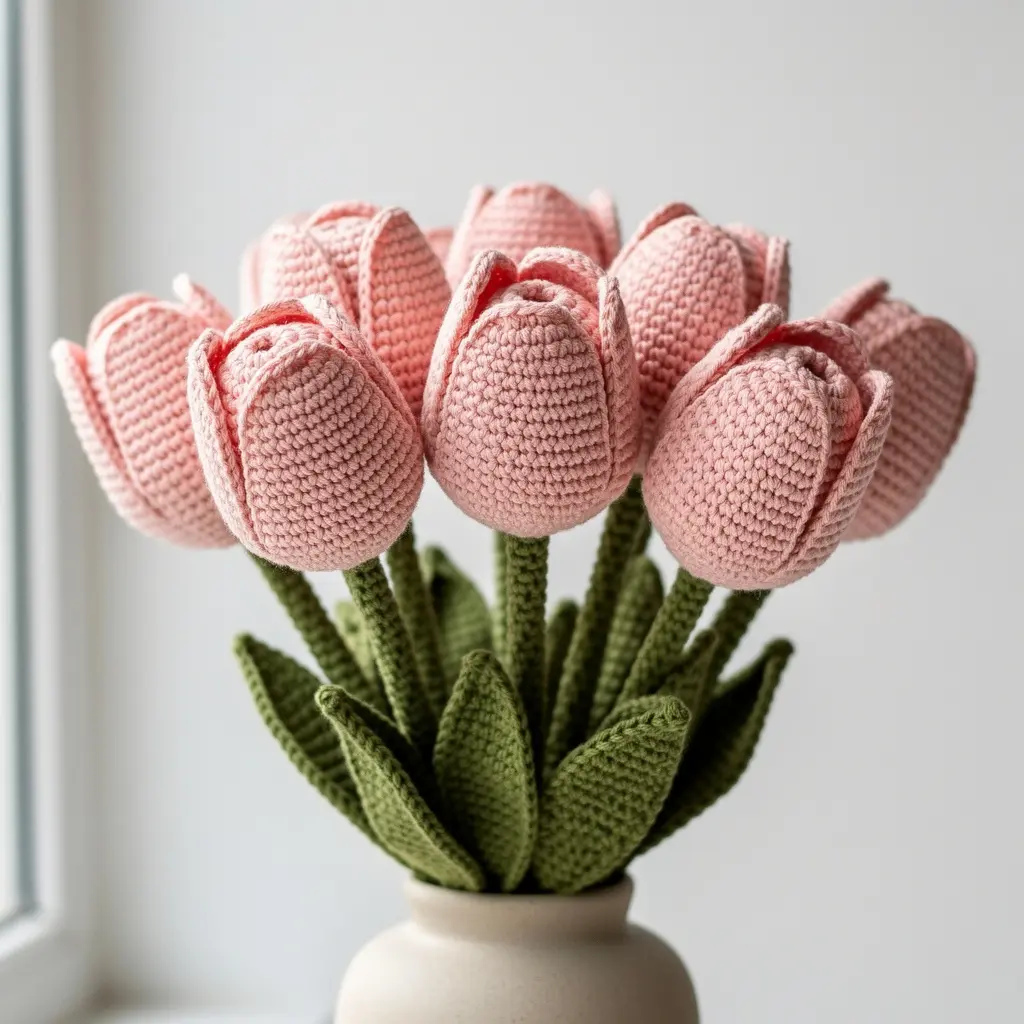
Six petals joined edge to edge lie flat. Six petals overlapped and stitched at the base, each one covering about a third of its neighbor, cup upward the way a real tulip does. That overlap is the whole trick.
Getting the Overlap Right
Skip the overlap and you get visible gaps. Overlap too far and the flower looks clenched shut instead of gently open. Pin the petals in place first and look at the shape before you commit any stitches.
6. Making the Stem With Floral Wire and Green Yarn
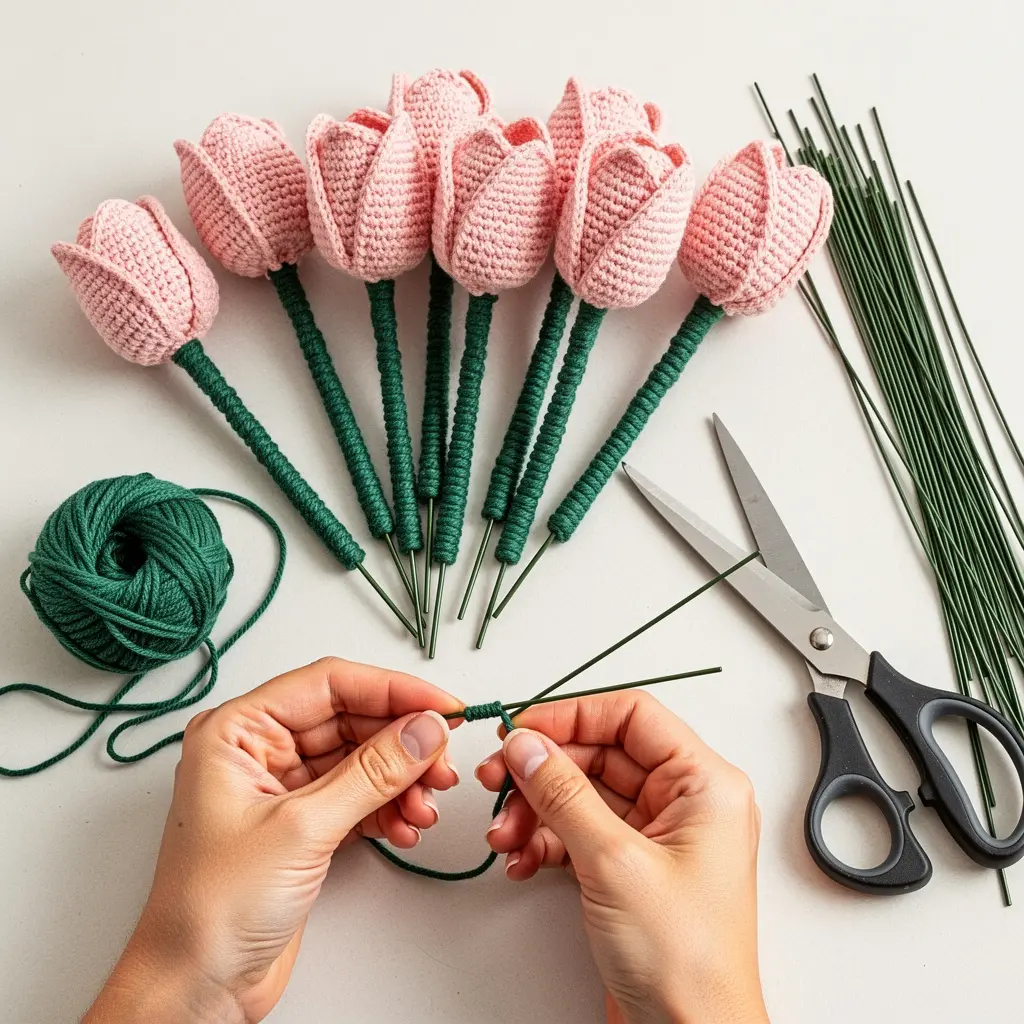
Cut floral wire to your stem length, usually 8 to 12 inches, and wrap it in green yarn or floral tape from top to bottom. Wrap at a slight diagonal, overlapping each pass, instead of straight across. It looks noticeably smoother.
The wire holds a shape but still bends. Once these are arranged in a vase, you want that give, not a stiff, unmoving stem.
7. Assembling the Flower Head Onto the Stem
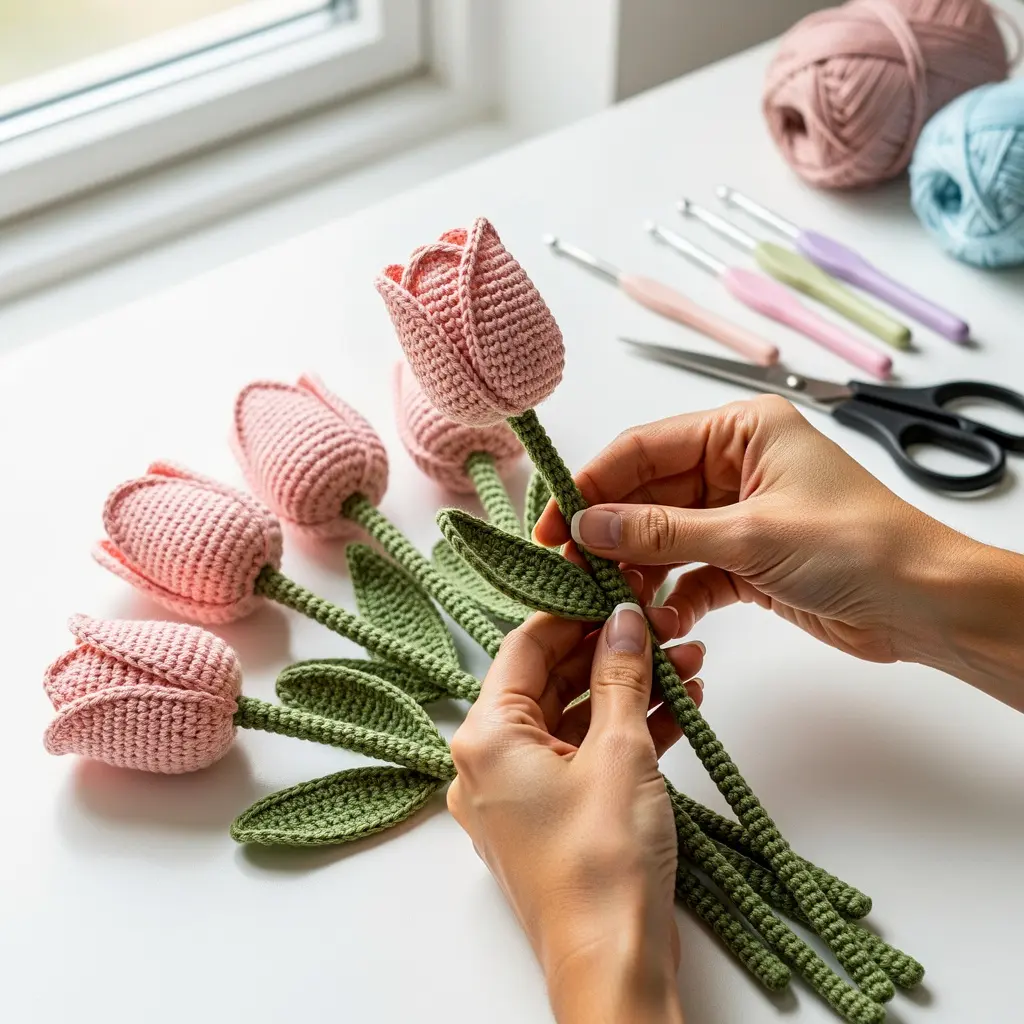
Push the wrapped stem up through the center of the finished flower head and secure it with a few stitches through the base of the petals into the top of the wrapping. A dab of fabric glue at the joint disappears once it dries and adds real security.
This joint is the weak point of the whole tulip. Spend the extra minute here. A loose head that spins or pops off after a week of handling isn’t worth the shortcut.
Let the glue set fully, ideally overnight, before you handle the flower much or move on to arranging it with the others. A joint that feels solid while wet can still shift before it’s cured.
8. Adding Leaves for a More Finished Look
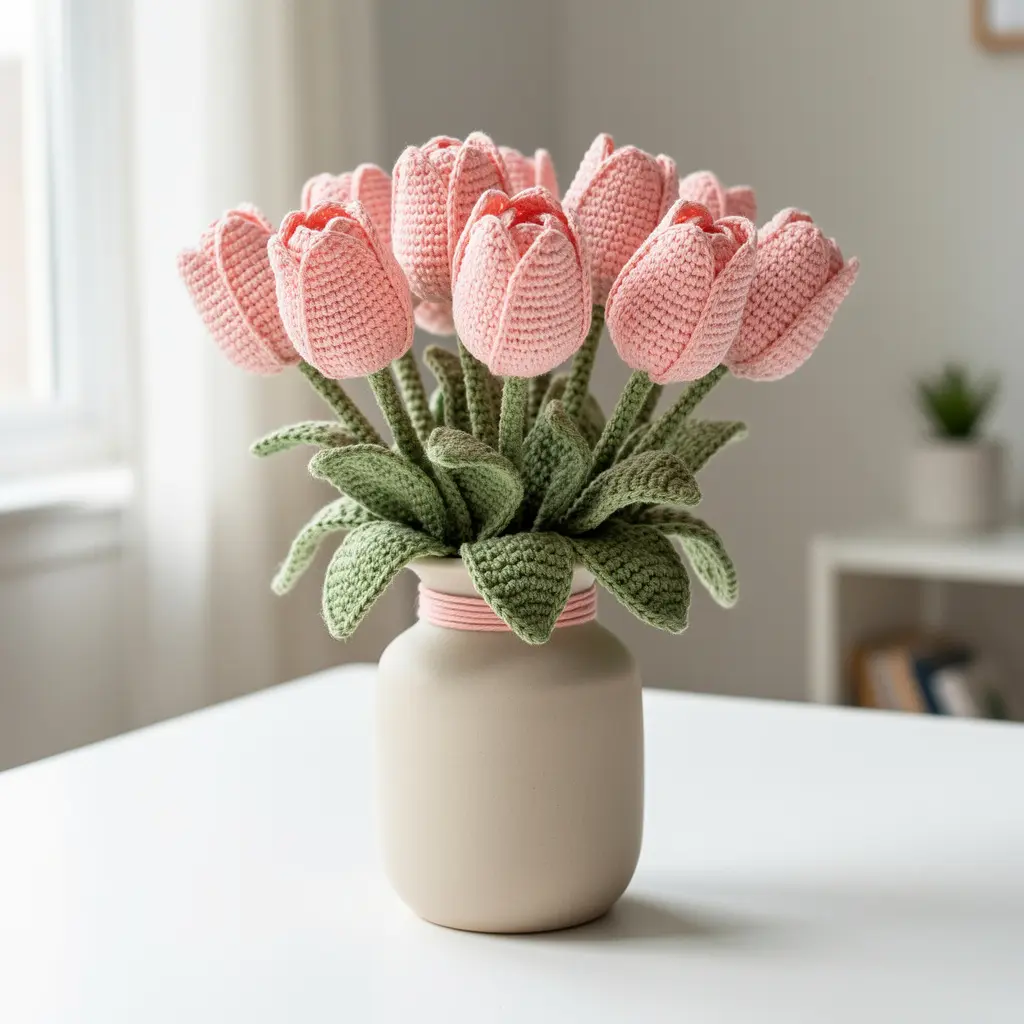
One elongated leaf shape, crocheted flat in green yarn and attached partway down the stem, finishes off a tulip. One or two per stem is plenty. Any more and the flower starts looking busy instead of botanical.
Stitch leaves directly to the wrapped stem, or give them their own small wire spine if you want them to curve away from it naturally.
9. Arranging the Bouquet So It Reads as a Full Set
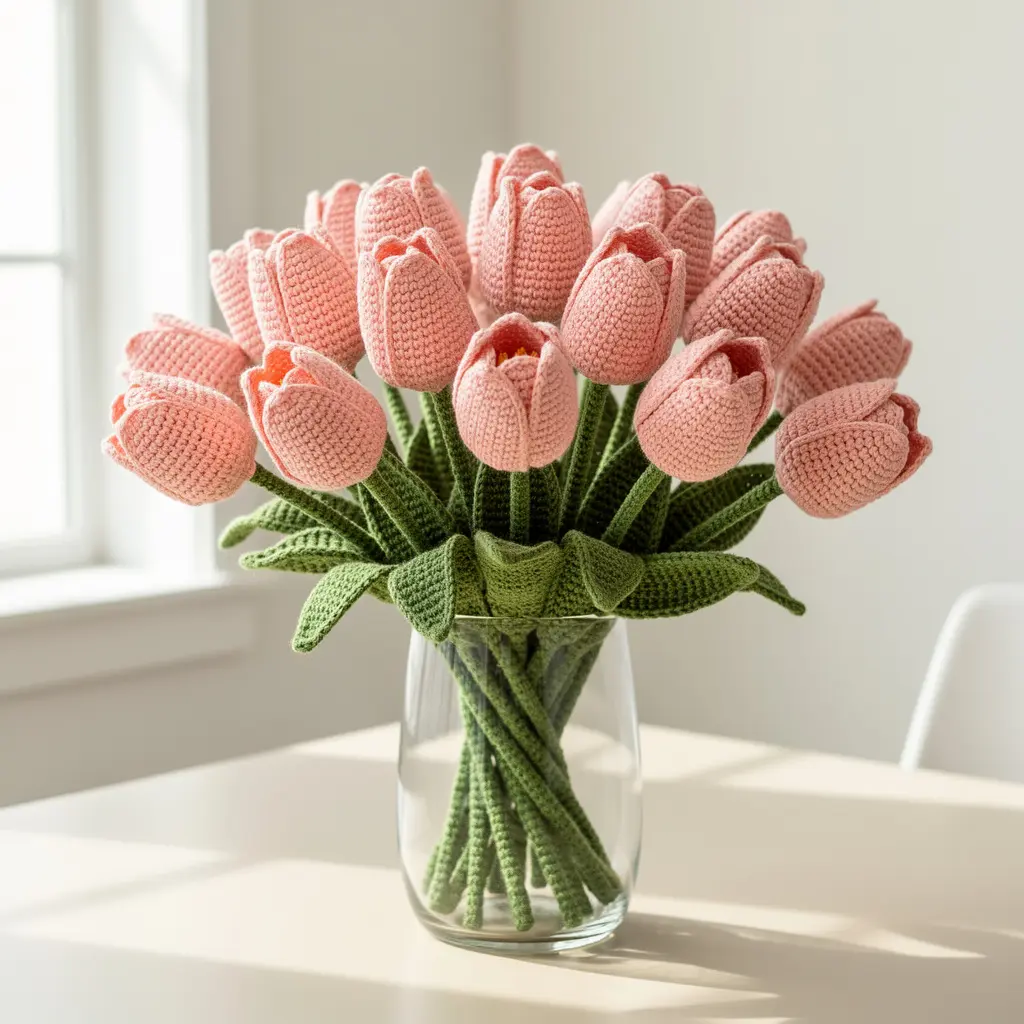
Bend five to seven stems to slightly different heights and angles, not all identical. Real tulips lean. They curve as they reach for light. Copying that imperfection is what sells the whole illusion.
Scatter your pink shades through the arrangement instead of clumping matching flowers together. It reads as one cohesive bunch rather than three small groups standing next to each other.
Trim the wire stems to slightly different lengths too, not just different angles. A vase full of stems all cut to the exact same height is one of the fastest ways to tip a handmade bouquet back into looking artificial.
10. Common Fixes When a Tulip Doesn’t Look Right
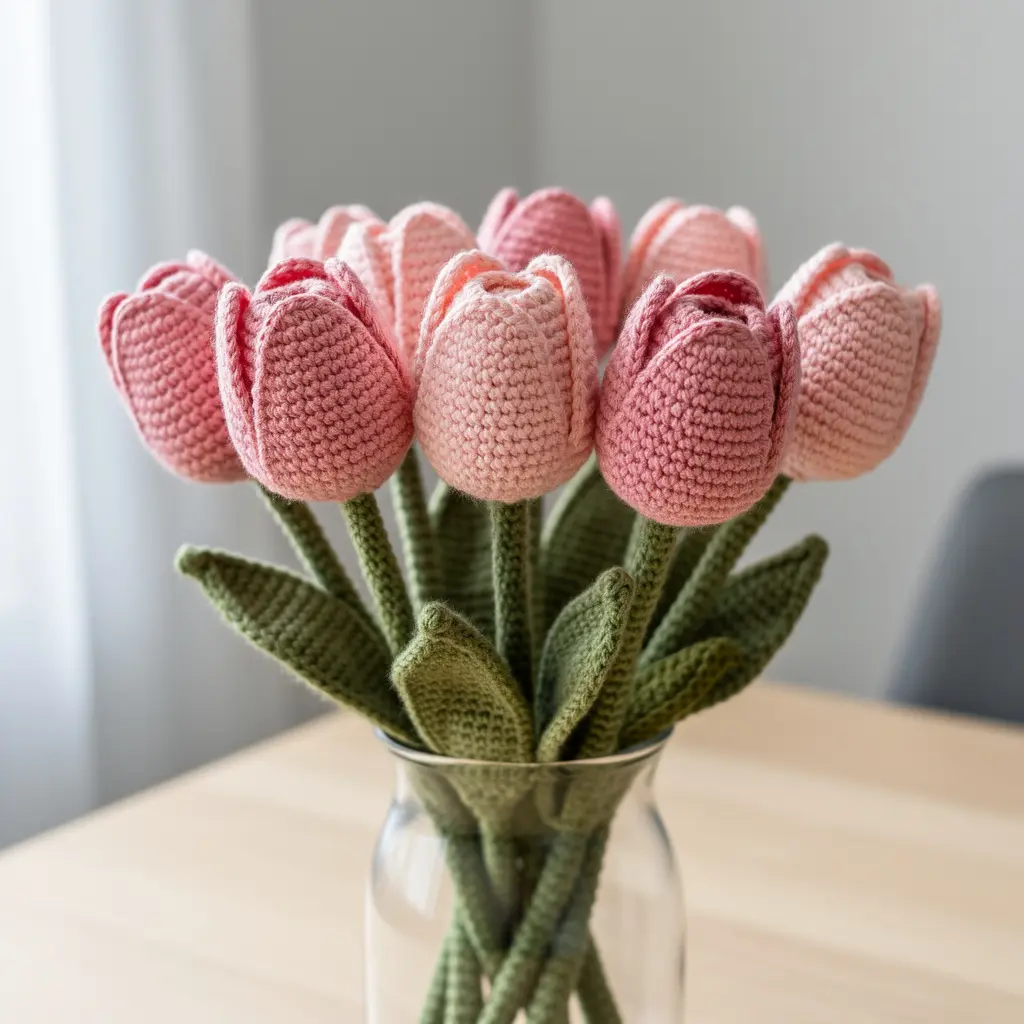
Flat instead of cupped? Add more overlap or tighten the base join. Too closed and stiff? Reshape it gently by hand once it’s assembled. Crochet fabric has enough give to ease petals outward after the fact.
Floppy stem? Double up the wire, or switch to a heavier gauge. It also makes the finished stem easier to bend into a natural curve once it’s in the vase.
Mistakes to Avoid
- Using a single uniform pink shade across the entire bouquet
- Joining petals edge to edge instead of overlapping them at the base
- Skipping the glue and stitch reinforcement at the stem joint
- Adding too many leaves per stem, which crowds the finished look
- Arranging every stem at the exact same height and angle
- Using yarn that’s too thin to hold the petal’s cupped shape
Frequently Asked Questions
What yarn weight works best for crochet tulips? Worsted weight, also labeled medium or category four, holds shape well without being difficult to work with, making it the most reliable choice for beginners.
How long does one crochet tulip take to make? Once you’re familiar with the pattern, each tulip head typically takes 20 to 30 minutes, not including stem assembly and leaf attachment.
Can I make this bouquet without floral wire? Floral wire gives the stems structure and a bendable shape. Pipe cleaners work in a pinch, but they don’t hold up as well over a lasting arrangement.
How do I keep the petals from looking lopsided? Focus on consistent tension across all six petals rather than perfecting any single one. Slow down and check each petal against the others before joining them.
Do crochet flowers need any special cleaning or care? A gentle shake to remove dust, or a light vacuum on a low setting with a brush attachment, is usually enough. Skip soaking the yarn, since it can distort the shaped petals.
Conclusion
Getting a crochet tulip to actually look like a tulip comes down to a few specific choices: overlapping the petals correctly, mixing your pink shades, and reinforcing that stem joint before it becomes a weak spot. Make your first flower slowly and pay attention to where your tension drifts, because that first tulip is the one that teaches you everything you need for the rest. After that, the remaining five or six go fast, and the bouquet you end up with holds its shape for years, not days.