10 DIY Resin River Wall Art Ideas for a Modern Home Look
A resin river piece is supposed to look like a slice of a real river frozen in wood and glass. A lot of first attempts end up looking more like a cloudy blue smear instead. Almost always, the culprit is resin type, pouring technique, or bubble control. Not artistic skill. These DIY resin river wall art ideas walk through the specific choices that separate a convincing river effect from a cloudy craft project.
None of it takes professional equipment or years of practice. What it takes is understanding why cloudiness happens, then adjusting a few steps along the way: which resin you buy, how thick each pour goes, what the room feels like while it cures.
Anyone who’s poured resin before knows the frustration of pulling a finished piece out from under its dust cover and finding a milky haze where clear water should be. The fixes are almost always small and specific, not a wholesale change in approach.
1. Why Most First Attempts at Resin River Art Turn Out Cloudy
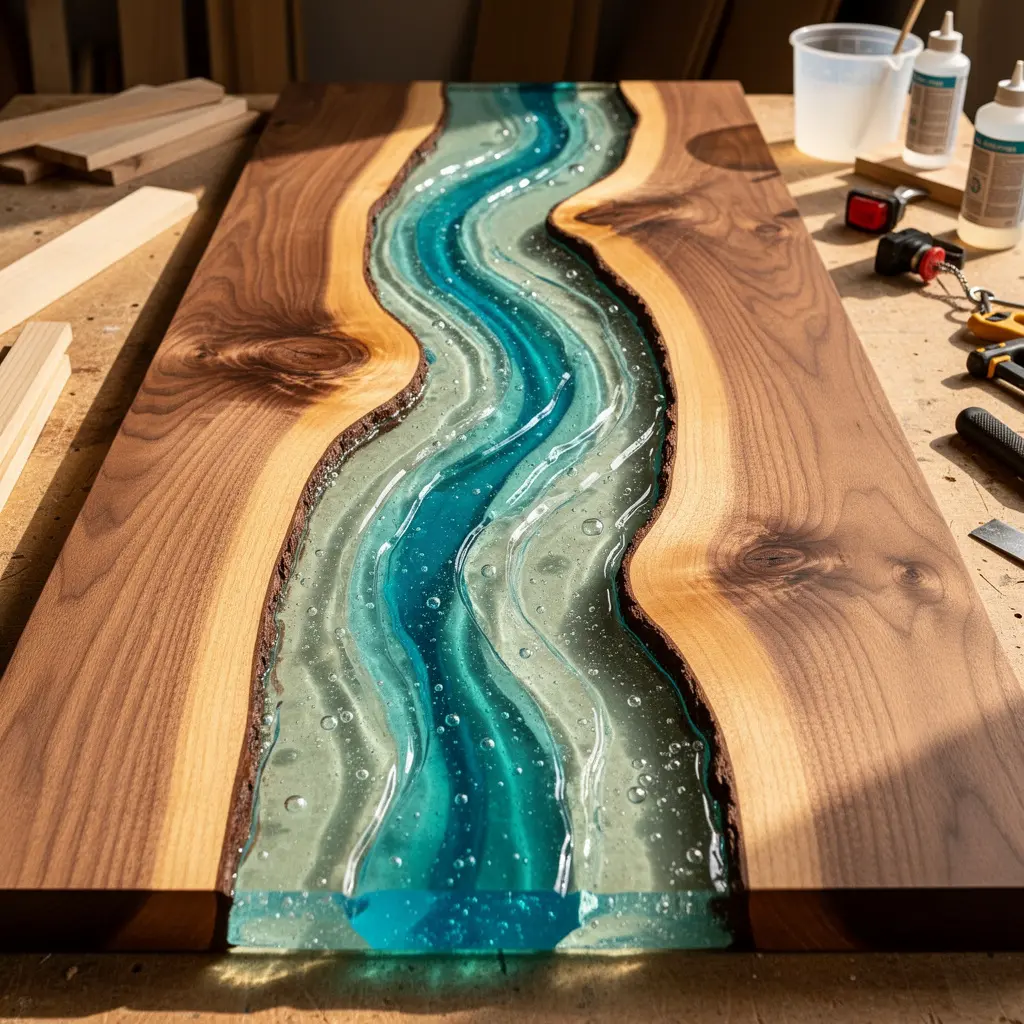
Cloudiness usually traces back to one of three things. Using the wrong type of resin. Pouring too thick a layer at once. Trapping air bubbles that never get released before the resin sets. Any one of these on its own can ruin an otherwise well planned piece.
All three are fixable, and none of the fixes require expensive equipment. Once you know what causes the cloudiness, avoiding it just means following a few specific steps rather than hoping for the best on each pour.
Most tutorials skip straight to the fun part, color mixing and swirling, and barely touch the boring fundamentals of resin selection and layering. That’s usually where the disappointment starts. Not in the artistic choices at all. A gorgeous color combination poured badly still ends up looking like a mistake.
2. Choose the Right Wood Base for a River Effect

Live edge wood slabs, with their natural, irregular edge left intact, create the most convincing river shape. The gap between two pieces, or the natural crack running through a single slab, already resembles a winding waterway before any resin touches it. Walnut, oak, and maple show up often for this reason, each with its own grain pattern and base color visible through the surrounding resin.
Preparing the Wood Before Pouring
Sand thoroughly, working through progressively finer grits, and let the wood dry completely if it wasn’t already kiln dried. Trapped moisture reacts with resin during curing and can cause bubbling or discoloration right along the wood’s edge.
3. Pick Epoxy Resin, Not Casting Resin, for River Pieces
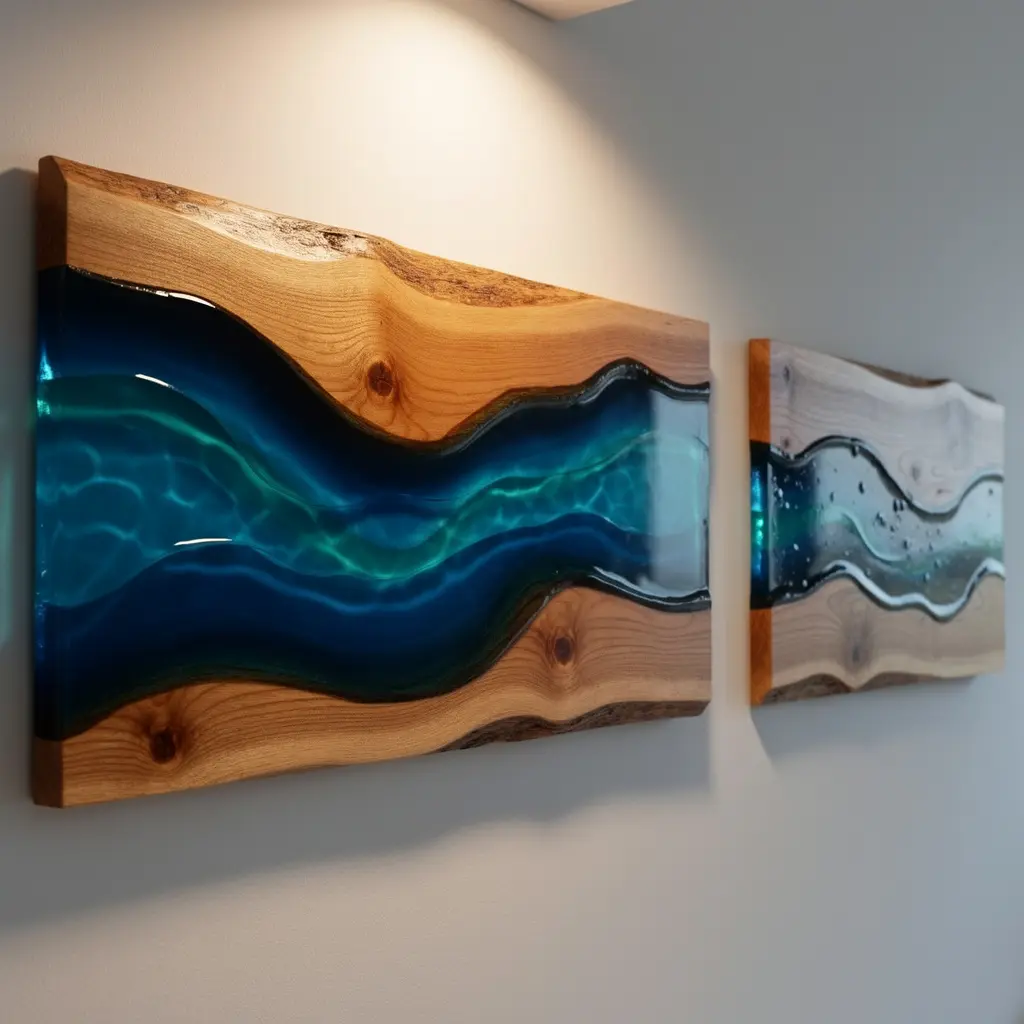
Epoxy resin cures clearer and with fewer bubbles than casting resin. That clarity is the whole point of a river effect, so this isn’t a minor detail. Casting resin is built for thinner, more delicate work, and it yellows or clouds more easily in the thicker pours a river channel demands.
Deep pour epoxy, formulated to cure properly in layers up to two inches thick, costs a bit more but earns its keep on a channel with real depth. Standard epoxy poured that thick can overheat and crack.
4. Mix Blues and Whites in Layers, Not All at Once
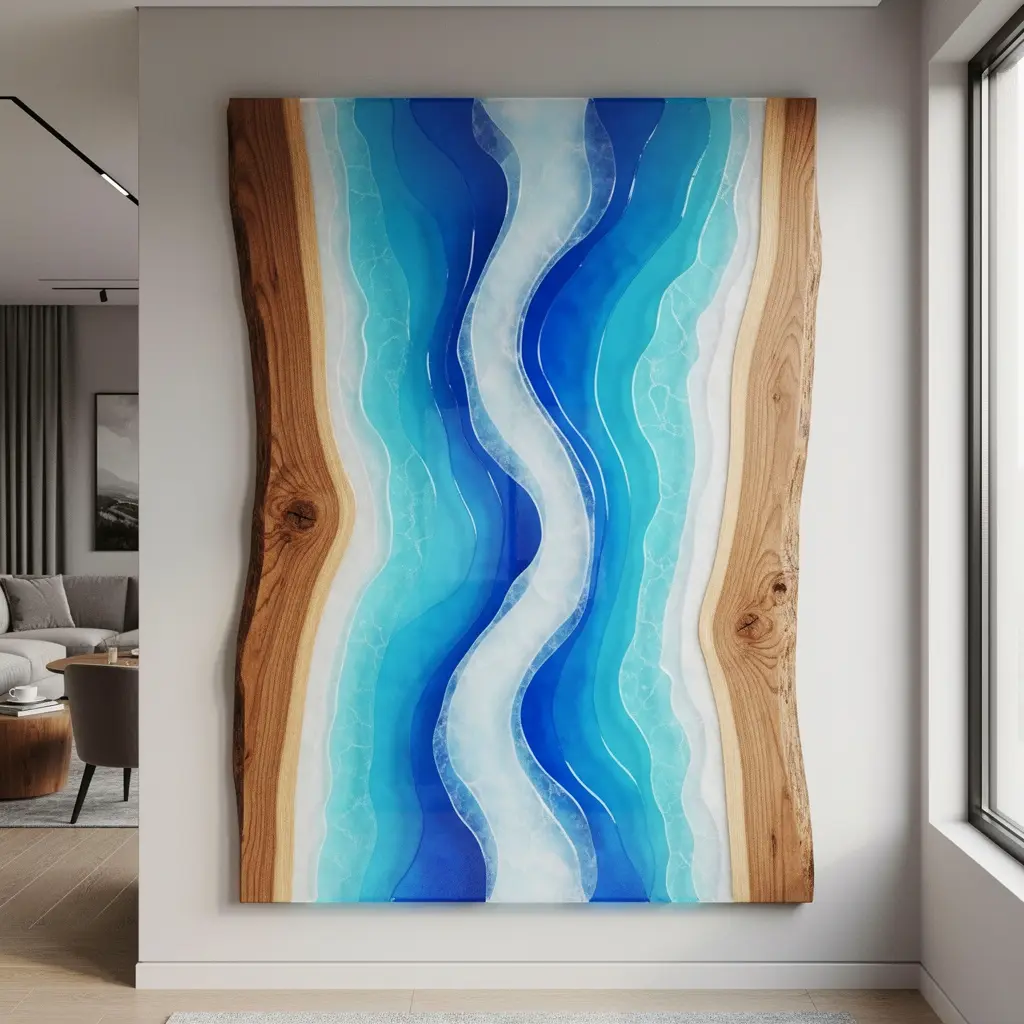
A single flat blue pour looks more like a swimming pool than a river. Real depth comes from mixing several shades, a deep navy for the deepest part of the channel, a lighter teal near the edges, streaks of white for foam and current, then layering them in separate small pours.
Mix each color in its own cup before pouring. Trying to blend colors directly in the wood channel gives up the control that premixing offers over exactly how much of each shade lands where.
5. Pour in Thin Layers to Avoid Trapped Bubbles
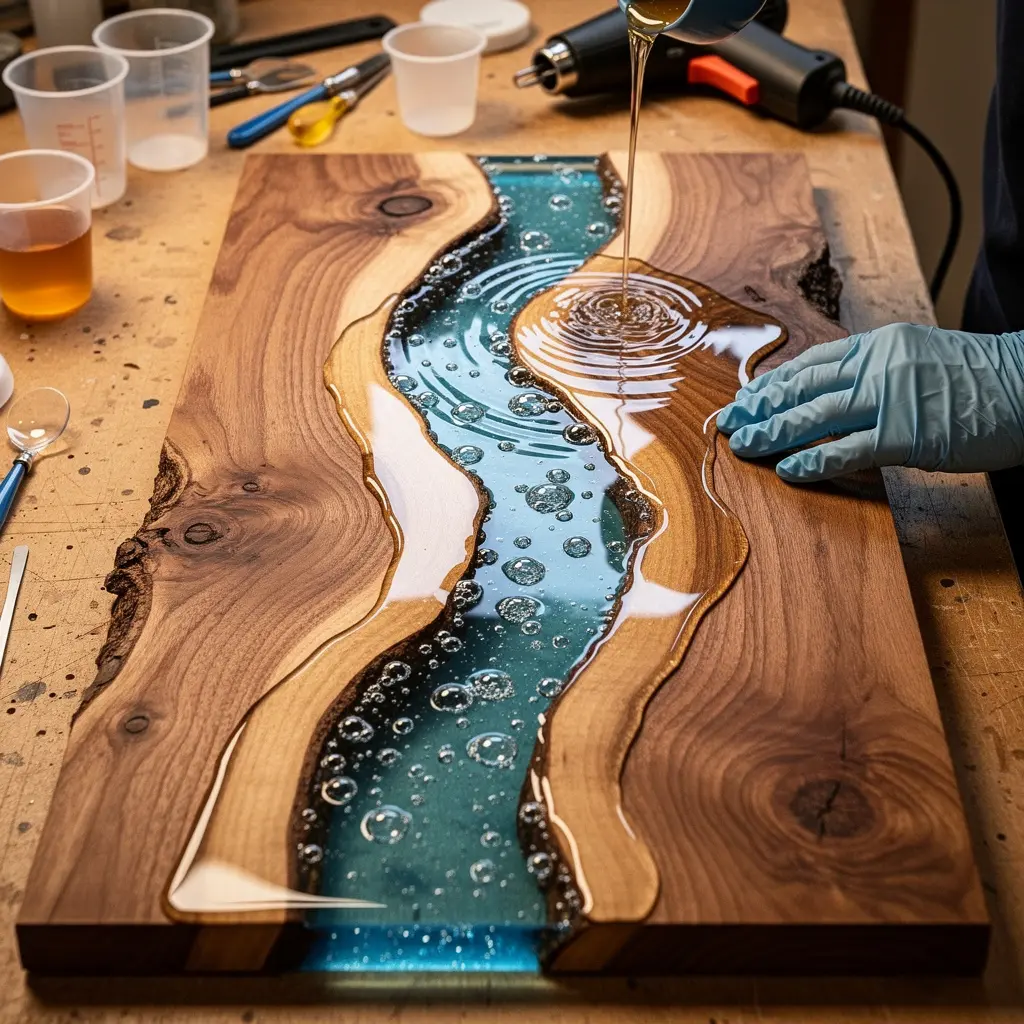
Pour the entire river depth in one go and you trap air at the bottom of the channel with nowhere to escape before the resin sets. Pouring in layers of a quarter inch to half an inch at a time, letting each one partially cure before the next goes in, gives that trapped air a much shorter path to the surface.
This adds time, often spreading a deeper channel across two or three days. It’s still one of the more reliable ways to sidestep the cloudy, bubble filled look that trips up so many first attempts.
6. Use a Heat Gun Carefully to Pull Bubbles to the Surface
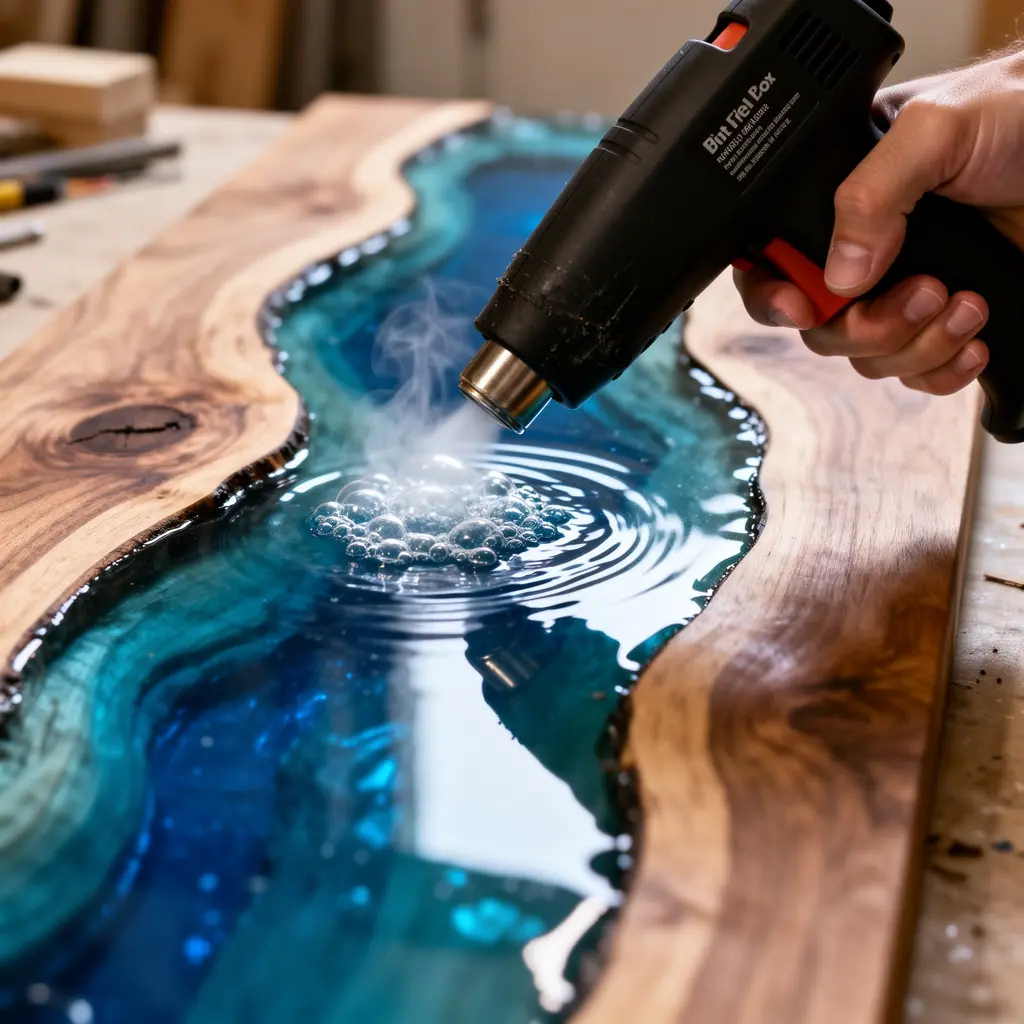
A light pass with a heat gun or small torch right after pouring lowers the resin’s viscosity just enough for trapped bubbles to rise and pop on their own. Keep the heat source several inches away and moving constantly. Linger too long in one spot and you risk scorching the resin.
How Long to Wait Between Passes
One quick pass right after pouring, then a second five to ten minutes later as more bubbles work their way up, catches the majority of trapped air without overworking the resin’s surface tension.
7. Add Movement With a Stir Stick Before It Sets
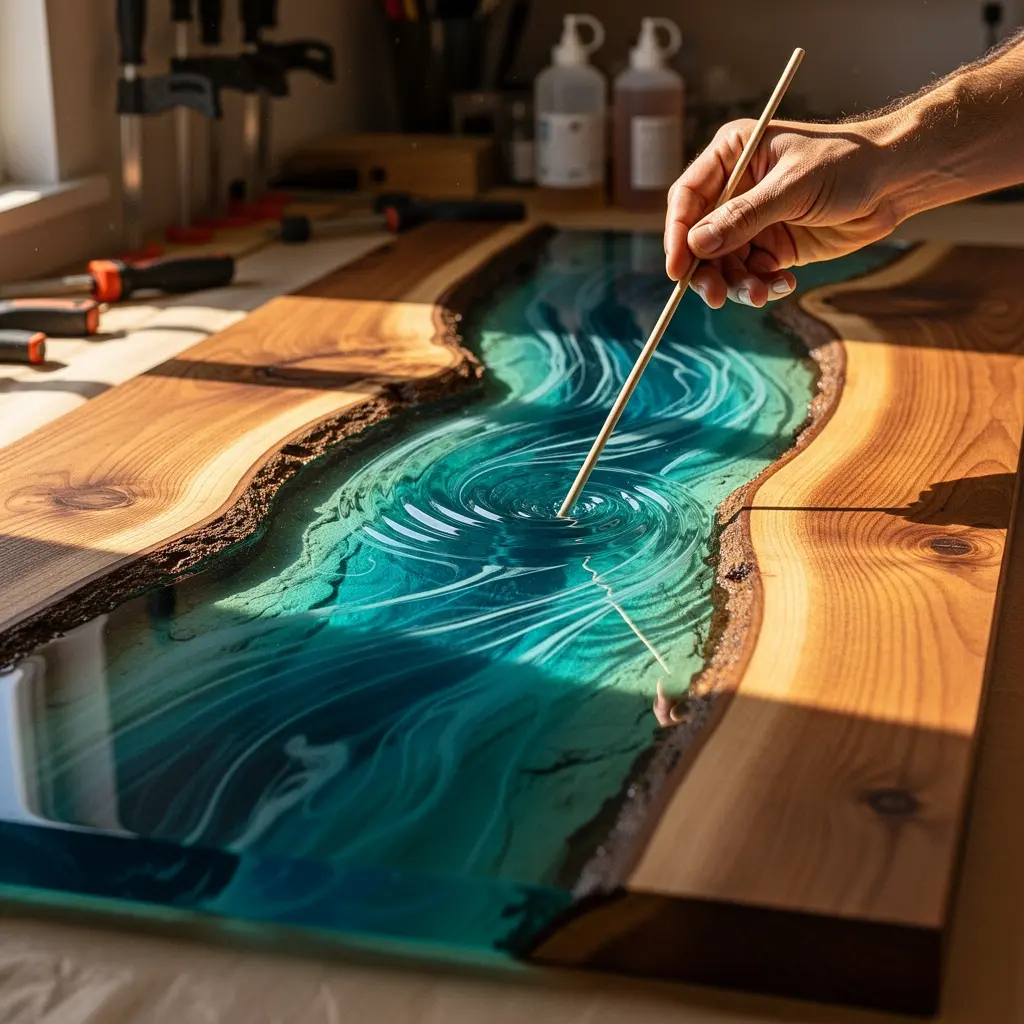
While the color layers are still wet, drag a thin stir stick or a toothpick gently through the resin to create swirls and current lines that mimic how real water moves around rocks and bends. Do this in the first ten to fifteen minutes after pouring, before the resin thickens.
Less is more here. A handful of deliberate strokes reads as natural water movement. Dragging the stick through the whole piece over and over just muddies the colors together.
8. Sand and Seal the Wood Edges Before the Final Pour
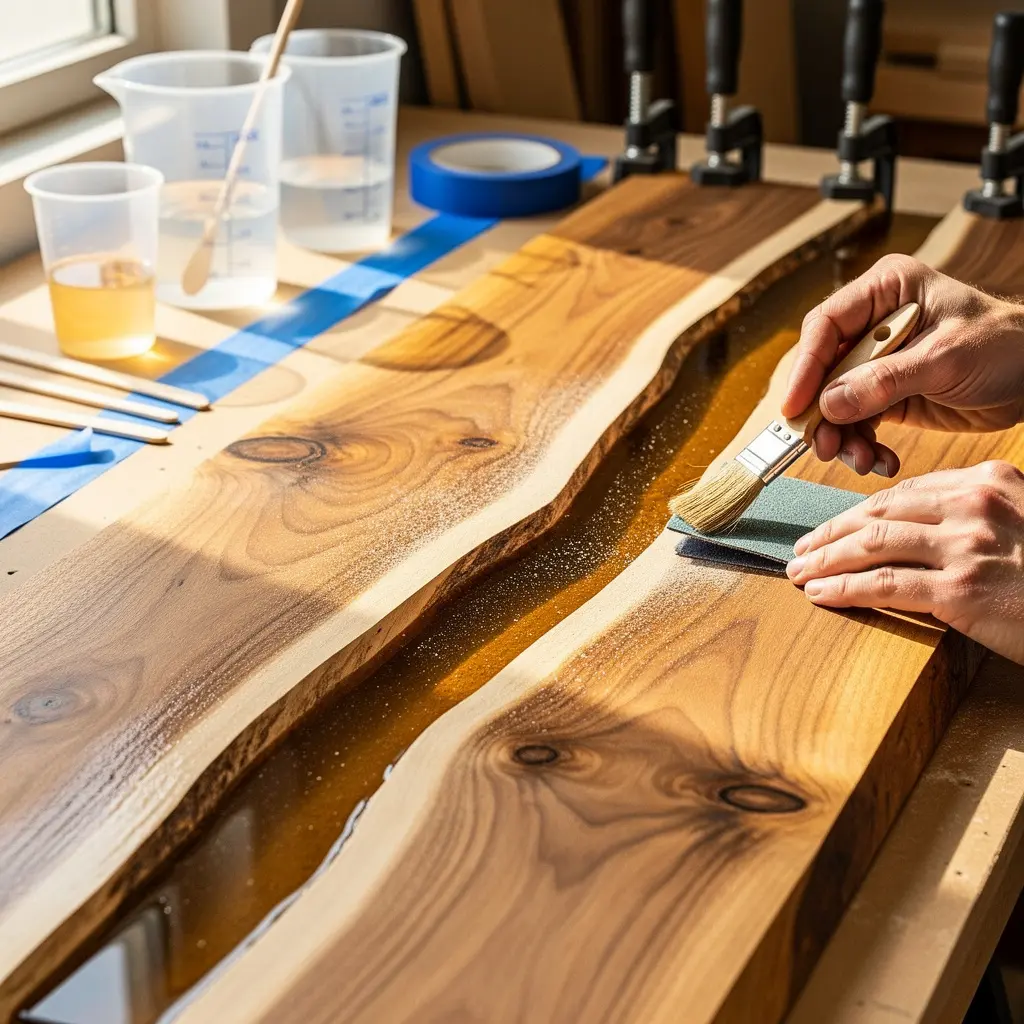
Exposed wood grain along the river’s edge absorbs resin unevenly if it isn’t sealed first, sometimes leaving a foggy border right where the wood meets the resin. Brushing a thin seal coat of resin directly onto those exposed edges, then letting it cure before the main pour, heads off the problem.
Skip this step and you’ll likely notice it later, a slightly off look right along the wood grain even when the resin itself poured perfectly clear.
9. Cure in a Dust Free, Temperature Controlled Space
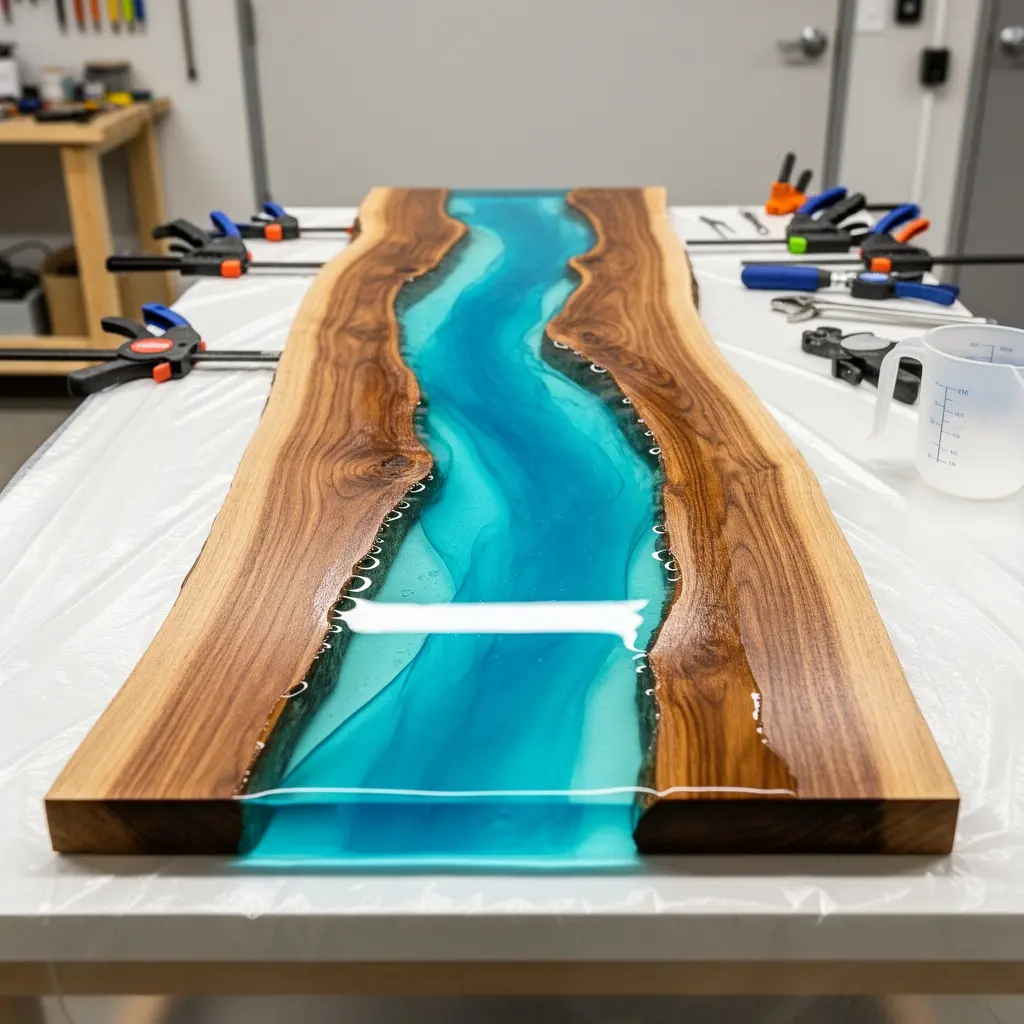
Resin takes anywhere from 24 hours to a full week to cure completely, depending on the product, and any dust or debris that settles onto the surface during that window gets permanently embedded once it hardens. A cardboard box or plastic dome, propped loosely over the piece while it cures, keeps dust off without trapping heat against the surface.
Aim for a room somewhere between 70 and 75 degrees Fahrenheit. Too cold and the cure slows down, sometimes leaving a slightly tacky finish. Too warm and the resin can set unevenly.
10. Finishing Touches That Make the Piece Wall Ready
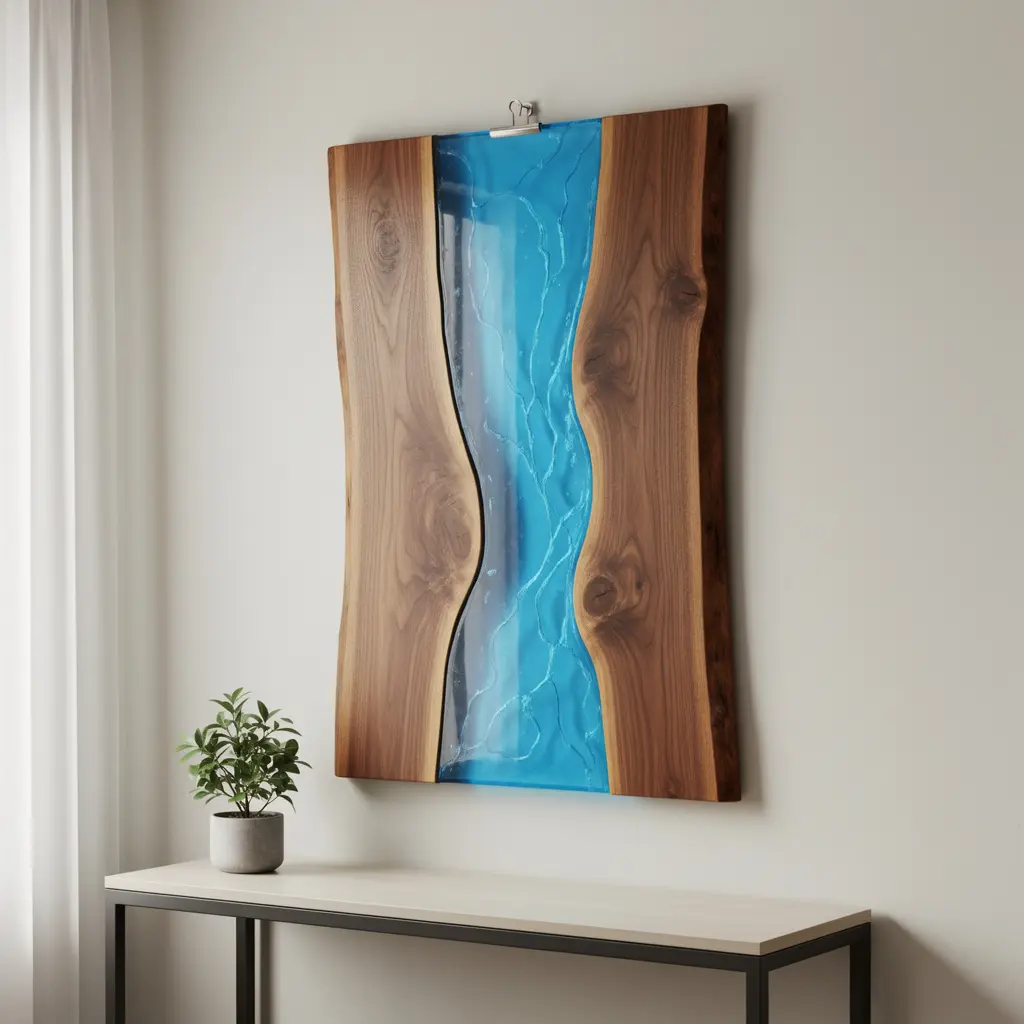
Once it’s fully cured, sand the back of the wood flat if it isn’t already, then attach a wall mounting bracket rated for the piece’s real weight. Resin adds more heft than people expect to an already solid wood slab. A French cleat mount holds up better under that weight than a standard sawtooth hanger.
Finish with a light sand and buff on any resin overflow along the edges, then a coat of furniture wax on the surrounding wood. That last pass is what makes the piece look gallery ready instead of leaving visible drip marks from the pour.
Mistakes to Avoid
- Using casting resin instead of epoxy for a thick river pour
- Pouring the full depth of the channel in a single layer
- Skipping the heat gun pass to release trapped bubbles
- Overworking the stir stick until the colors blend into mud
- Leaving exposed wood edges unsealed before the main pour
- Curing in a dusty space or one with unstable temperature
Frequently Asked Questions
What type of resin works best for a river table or wall piece? Epoxy resin, specifically a deep pour formula for channels over an inch deep, cures clearer and with fewer bubbles than standard casting resin.
How long does resin river art take to fully cure? Most epoxy resins take anywhere from 24 hours to a full week to cure completely, depending on the specific product and the thickness of the pour.
Why does my resin river look cloudy instead of clear? Cloudiness usually comes from trapped air bubbles, the wrong resin type, or pouring too thick a layer at once without letting earlier layers partially cure first.
Can I use any type of wood for a resin river piece? Live edge slabs of walnut, oak, or maple are common choices. The wood just needs to be fully dry, since trapped moisture can react with the resin during curing.
Do I need a heat gun for this project? It isn’t strictly required, but it makes a real difference in clarity by helping trapped bubbles rise and pop before the resin sets.
Conclusion
DIY resin river wall art ideas come down to matching technique to ambition: epoxy resin over casting resin, thin layered pours over one thick one, a heat gun pass before bubbles get trapped for good. Give the layering and curing the extra time it needs, even across a few days, because rushing that part is where most cloudy, disappointing results come from. Done carefully, the finished piece holds up as real wall art, not just a craft project that happened to involve resin. The first attempt teaches more than any tutorial can, so treat it as a test piece if the budget allows, and save the good wood slab for the second try.