10 DIY Curved Floating Shelf Ideas With LED Lights for a Modern Home
Straight floating shelves are everywhere at this point. A curved one, glowing softly underneath, looks like it came out of a design studio, and it’s a lot more doable as a weekend build than people assume going in. The material matters more than the tools here. Get the plywood right and the rest is mostly patience. Here’s how the whole thing actually comes together, and where most first attempts go wrong.
1. Bendable Plywood Is Non Negotiable

Regular plywood cracks the second you try to bend it into a curve. You need bendable plywood, sometimes sold as flexible or wacky wood, built with thinner cross grain layers made specifically for this. It costs more. There’s no way around that, but it’s genuinely the material that makes this project possible at all rather than a frustrating failed attempt.
Most big box hardware stores don’t carry it. Specialty lumber yards and online suppliers for furniture makers are your better bet, and it’s worth a phone call first to confirm they stock the thickness and radius you actually need before driving anywhere.
Order more than the math says you need, too. First attempts at bending a new material rarely go perfectly on try one, and having a spare sheet on hand beats waiting on a second shipment if something splits mid bend.
2. Build the Curve Form Before You Touch the Plywood
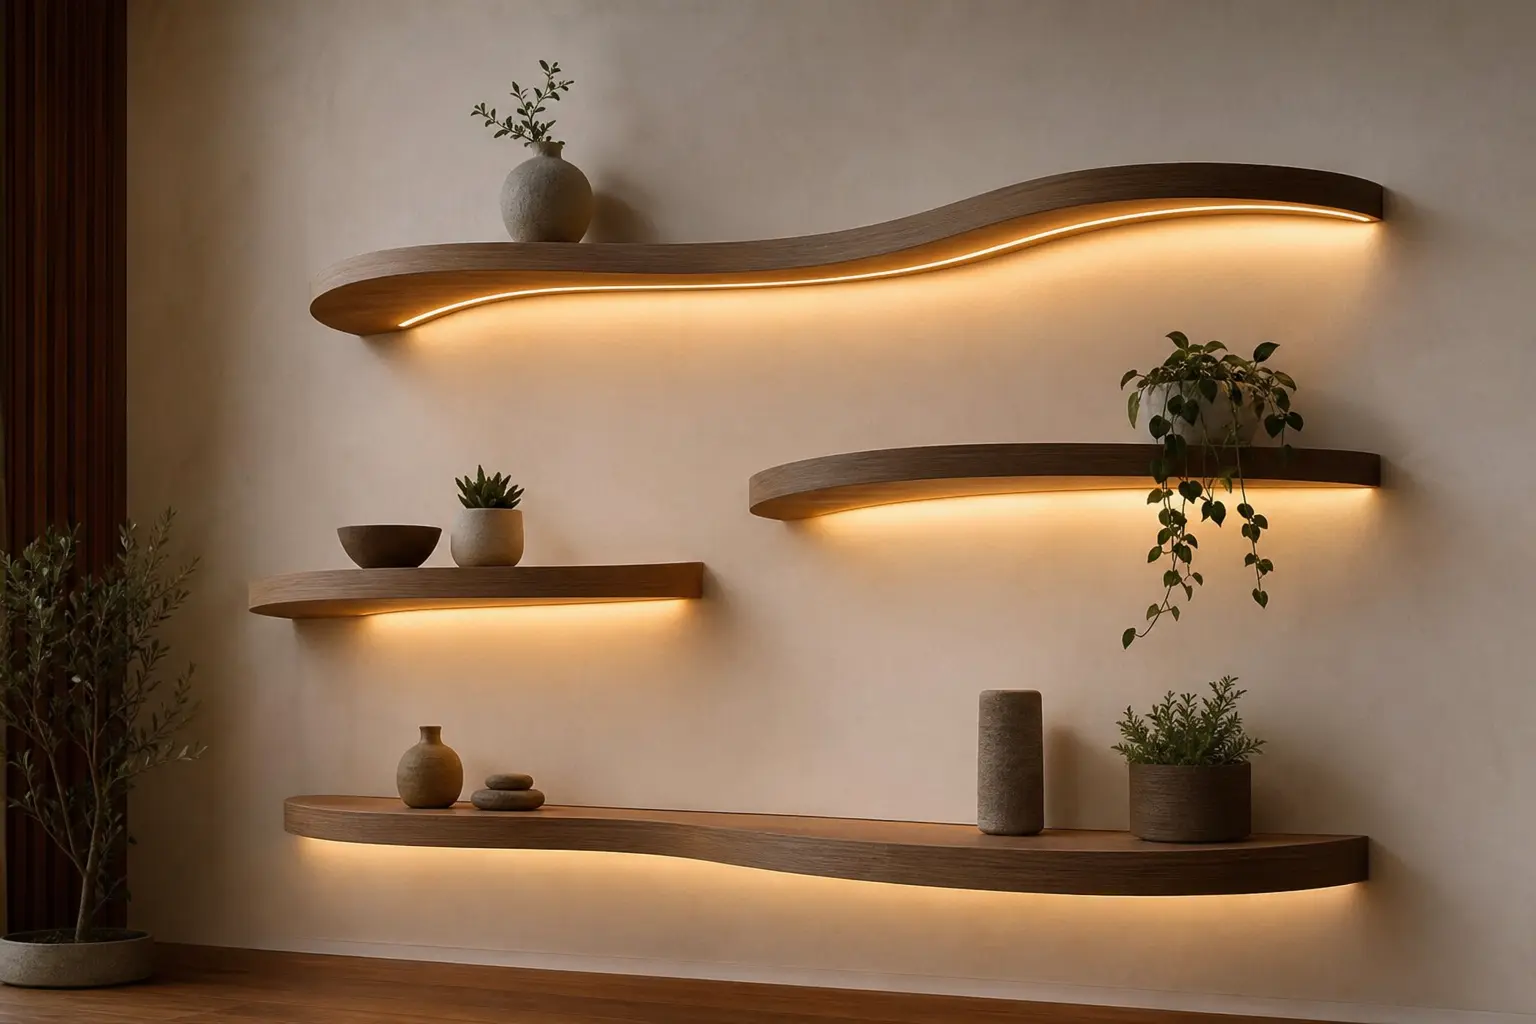
You need something to clamp the plywood against while the glue sets, and that’s the form. Stack and cut MDF into your curve profile, or check if a local maker space has one you can rent. This step eats time. Skip it and try to freehand the bend, and you’ll almost certainly end up with an uneven, wobbly shape instead of a clean curve.
Get the form itself accurate before you cut a single piece of plywood. Any unevenness here transfers straight into the finished shelf, so double check your curve template against the actual wall before committing it to MDF.
3. Pick Your Radius Before You Cut Anything

A wide, gentle curve reads as elegant. A tight, dramatic one reads as a gimmick more often than not. For a wall shelf, somewhere around 24 to 36 inches of radius tends to land in the sweet spot, soft enough to feel intentional without looking like a stunt.
Sketch it full scale on paper first, or tape a string along the wall in roughly the shape you’re planning. Step back and actually look at it from where you’d sit or stand in the room day to day. A curve that looks perfect on paper can read as too tight, or barely there, once it’s at real size on the wall.
4. Weight Capacity Comes From Lamination
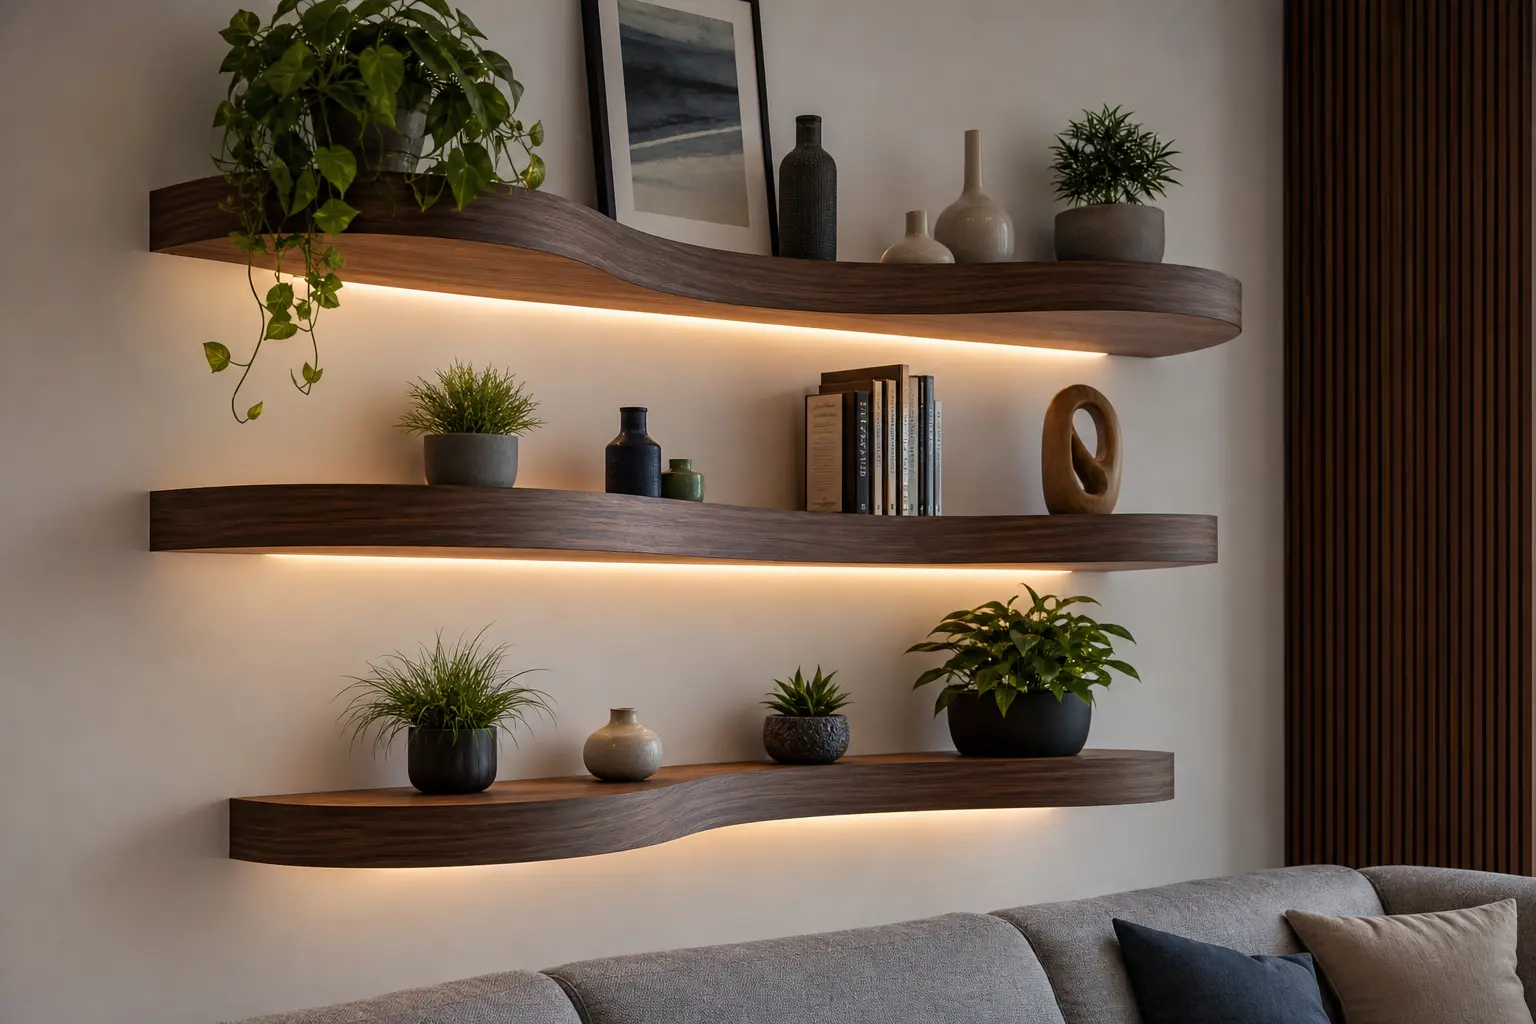
A curved shelf just isn’t as rigid as a straight one, especially near the center of the bend. Laminating two or three layers of bendable plywood together around your form, glued and clamped properly, is what gives it real strength while keeping the curve intact. Skip this and you’re looking at a shelf that sags within a few months, which is by far the most common failure point on this whole build.
Use a structural wood glue here, not a general craft adhesive. This joint is carrying real weight for years, not just holding decorative pieces together. Let each layer fully cure before adding the next one, even though it’s tempting to rush straight through to the finish work.
5. Route the LED Channel Early, Not Late
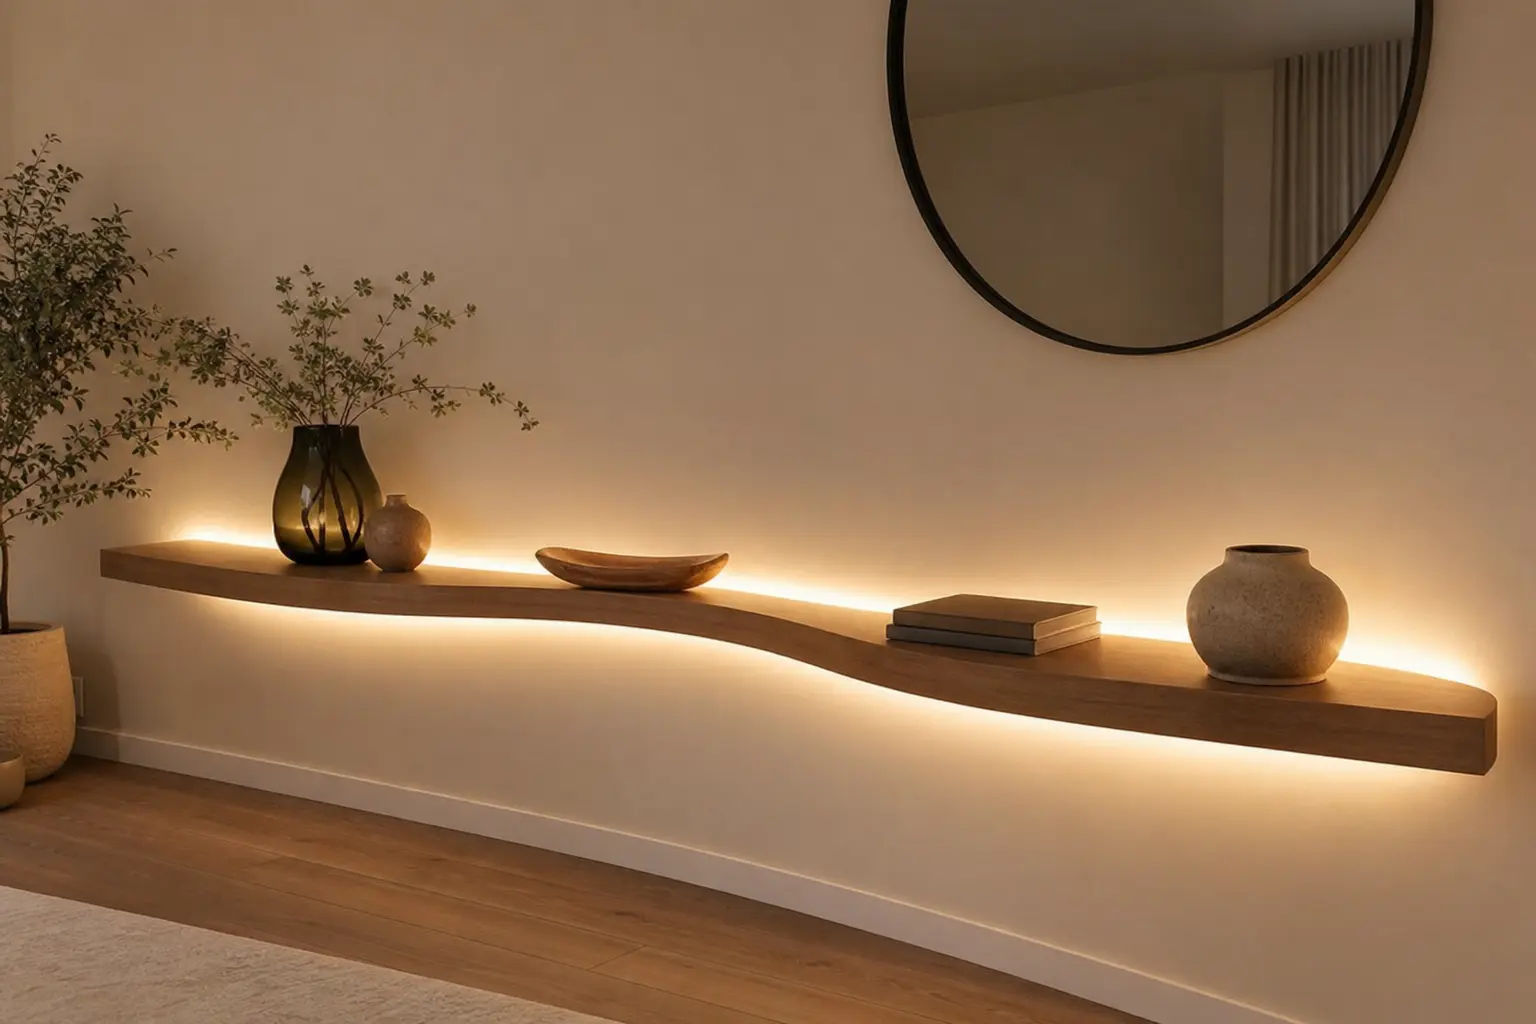
Cutting a channel for the LED strip is a lot easier before final glue up than after the shelf is fully laminated and hardened. Decide whether the light sits along the underside edge or recessed behind a small trim lip, then route that channel into one of the inner plywood layers before stacking and gluing the final layers on top.
6. Stay Warm White for the Actual Light

2700K to 3000K, warm white, gives you the soft glow that actually suits a home rather than a store display. Anything cooler, above 4000K, starts to feel closer to retail lighting, which undercuts the whole custom, elevated look you just spent a weekend building toward.
Use a flexible LED strip rated for your curve radius. A rigid strip won’t follow the bend cleanly, and most standard flexible strips handle a gentle curve without much trouble at all.
7. The Bracket System Has to Be Hidden and Real

A curved shelf needs mounting that’s at least as strong as a straight one, arguably stronger once you factor in the added weight from all those laminated layers. A steel bracket hidden inside the shelf body, anchored directly into wall studs, keeps everything invisible from the front while actually holding the weight. Skipping stud mounting here isn’t worth the risk.
If your stud spacing doesn’t line up cleanly with where you want the shelf, a horizontal mounting rail spanning several studs spreads the load better than forcing a single bracket into an awkward position.
8. Finish It to Match the Room, Not the Project
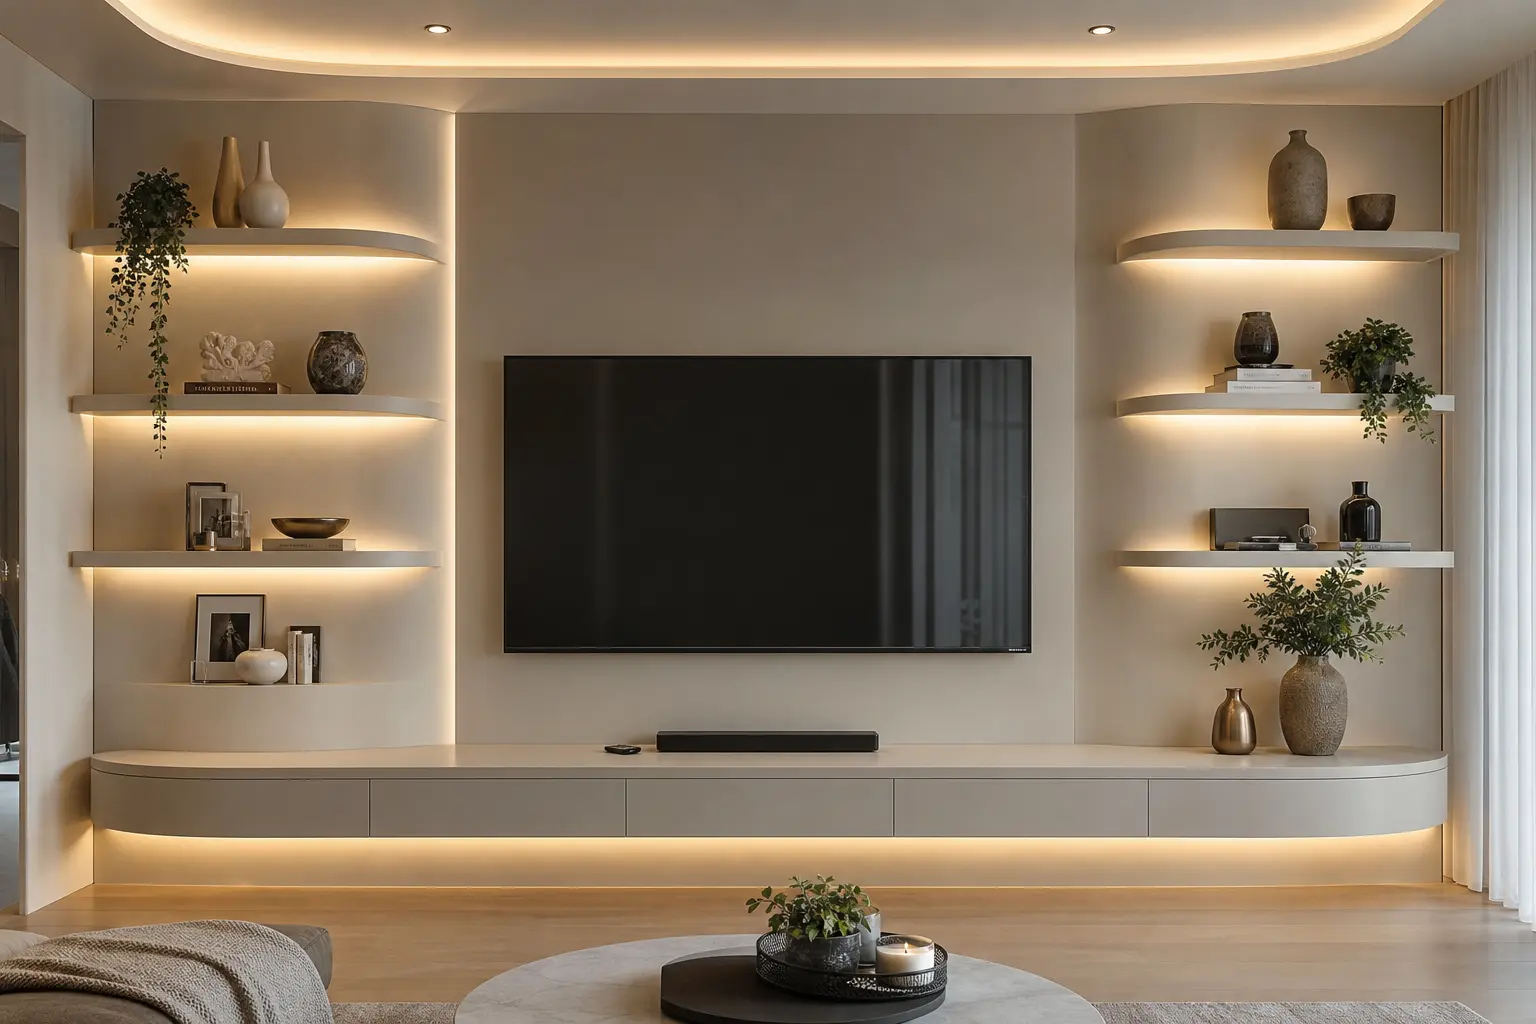
Sand it smooth, then stain, paint, or seal depending on what the room actually calls for. A natural wood stain lets the layered plywood edge show through, which can look genuinely interesting if you lean into it. A solid paint finish hides the material entirely for a cleaner, more minimal result. Neither is more correct. It depends on what’s already in the room.
9. Load It Slowly Before You Trust It

Don’t go straight to books and heavy decor. Add weight gradually over a few days, checking the bracket and the curve itself for any give or flex along the way. This matters more here than on a store bought shelf, since there’s no manufacturer rating to lean on. You’re the one testing it.
10. Let the Curve Do the Talking

Once it’s up and lit, don’t bury it under objects. A few pieces, spaced to follow the line of the curve rather than crowding one section, keep the shape itself as the actual focal point. The curve and the glow are the whole point of the project. Don’t cover them up with clutter once you’ve finally got them built.
Mistakes to Avoid
- Using standard plywood instead of bendable plywood, which cracks under the bend rather than curving cleanly
- Skipping the curve form and freehanding the bend, which almost always produces an uneven shape
- Cutting the LED channel after final assembly instead of routing it into an inner layer beforehand
- Mounting into drywall alone rather than studs, especially risky given the extra weight from lamination
- Overloading the finished shelf with decor that hides the curve instead of showing it off
Frequently Asked Questions
Is bendable plywood a lot more expensive than regular plywood? Yes, noticeably, because of the specialized cross grain construction. But it’s the one material that actually makes a clean curve possible, so the added cost is really the price of the project working at all.
How tight can I make the curve before it gets hard to work with? Under about 18 inches of radius, things get significantly trickier to laminate cleanly. Sticking to 24 to 36 inches is a lot more forgiving, especially on a first attempt.
Do I need a maker space to pull this off? A curve form and clamps are really the core requirement. A maker space helps if you don’t own woodworking tools, but a basic form can also be built at home with hand tools and some patience.
What kind of LED strip actually works for a curved channel? A flexible strip rated for your specific radius. A rigid one just won’t bend cleanly along the curve, and most standard flexible strips handle a gentle bend without issue.
How much weight can a shelf like this actually hold? It depends entirely on your lamination and bracket setup, so there’s no fixed number to quote. Test it gradually with lighter items first, and watch for any flex before loading it up with anything heavier.
Conclusion
This is one of those projects that looks intimidating from the outside and turns out to be mostly about patience once you’re actually doing it. Get the right plywood, build a solid curve form, and route the LED channel before you glue anything permanently in place. Do those three things right, and you end up with a shelf that looks like it came from a design studio instead of a garage.


