10 Cozy Vertical Garden Wall Ideas for Small Spaces
Wanting more greenery in a home that’s already short on floor space is a familiar problem, and it’s exactly what a cozy vertical garden wall is built to solve. Instead of competing for square footage with furniture, a living wall takes over vertical space that’s usually just blank drywall, turning it into a genuinely lush, layered feature. This guide covers how to plan one out, from choosing a planter system and the right plants to keeping the whole thing alive and looking cozy rather than clinical.
1. Decide Between a Living Wall and a Faux or Mixed Version
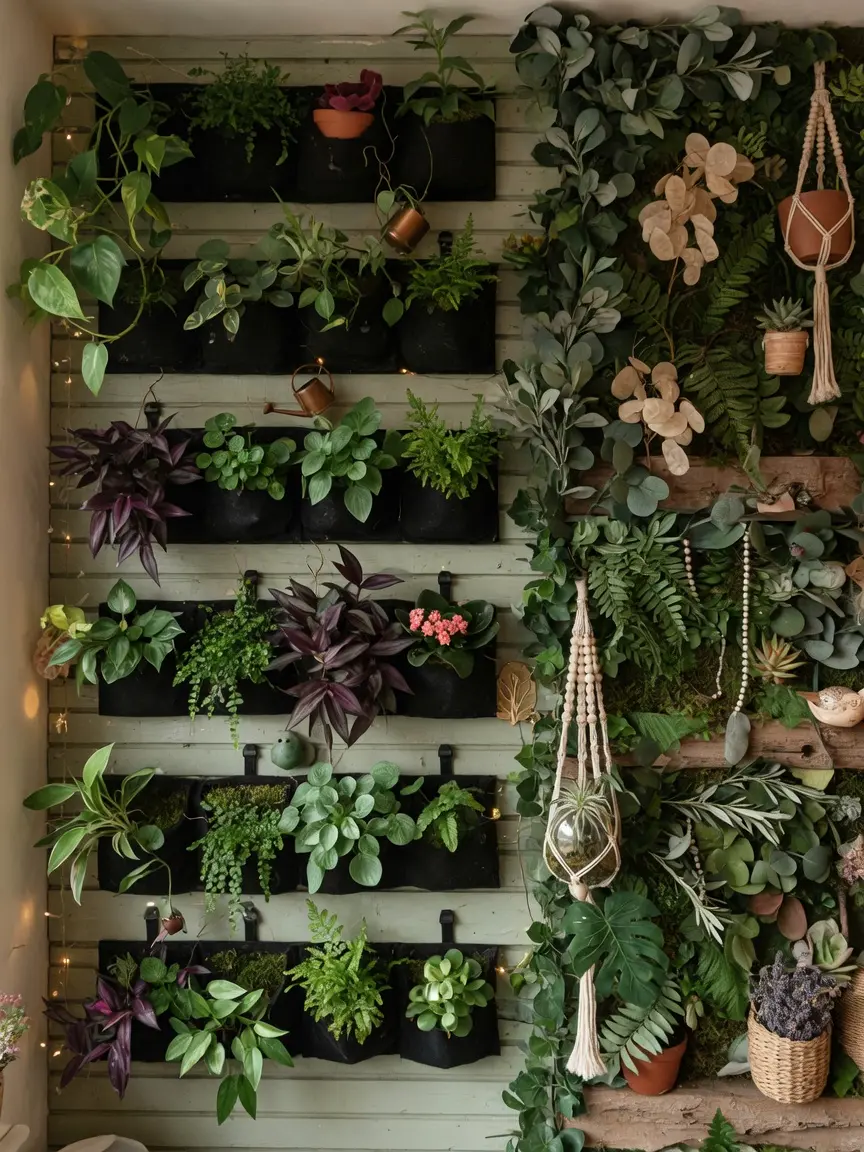
A true living wall uses real, actively growing plants, which gives the most genuine green, textured look but comes with a real ongoing care commitment, watering, light, occasional trimming. A faux version, using high quality artificial plants, skips the maintenance entirely and can work well in a spot with poor light or for someone who travels often and can’t keep up with watering.
A mixed wall, combining a few real low maintenance plants with faux fillers for bulk and fullness, is a practical middle ground that a lot of people land on. The honest answer for which to choose usually comes down to how much ongoing care you’re actually willing to give it, not how much you’d like to give it in theory.
2. Assess the Wall’s Light Before Choosing Any Plants

Before buying a single plant or planter, spend a few days observing how much natural light the wall actually gets throughout the day. A wall near a window with several hours of indirect light can support a much wider range of plants than an interior wall with almost no natural light reaching it at all.
If the wall is genuinely low light, it’s worth planning around that reality from the start, either choosing plants specifically known for shade tolerance or building in supplemental lighting, rather than hoping a sun loving plant will somehow adapt to a dim corner.
A Quick Light Check
Hold your hand about a foot from the wall at midday. A crisp, well defined shadow usually means bright light. A soft, blurry shadow means medium light. Almost no visible shadow at all points to low light, which narrows your plant options considerably.
3. Choose a Planter System That Matches Your Skill and Budget
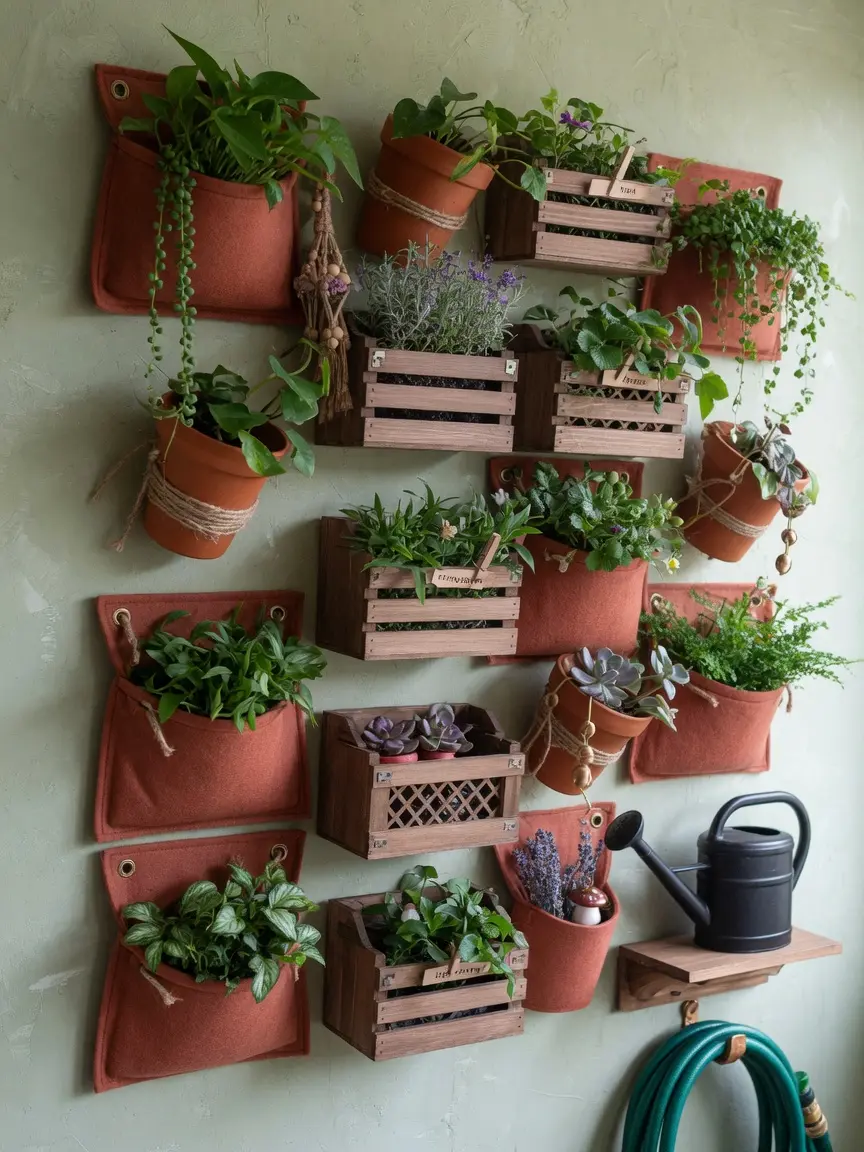
Vertical garden systems range from simple pocket style fabric panels, which are the most affordable and beginner friendly option, to modular plastic or metal grid systems with individual pots, to more elaborate hydroponic setups with built in irrigation. Pocket panels are easiest to install and swap plants in and out of, but they can be trickier to keep evenly watered across the whole panel.
A modular pot based system generally gives you the most control, since each plant sits in its own container and can be watered and cared for individually rather than as one connected unit. This makes it easier to catch a struggling plant before it affects its neighbors, which is harder to do with a fully integrated panel system.
4. Plan Watering Access From the Very Beginning
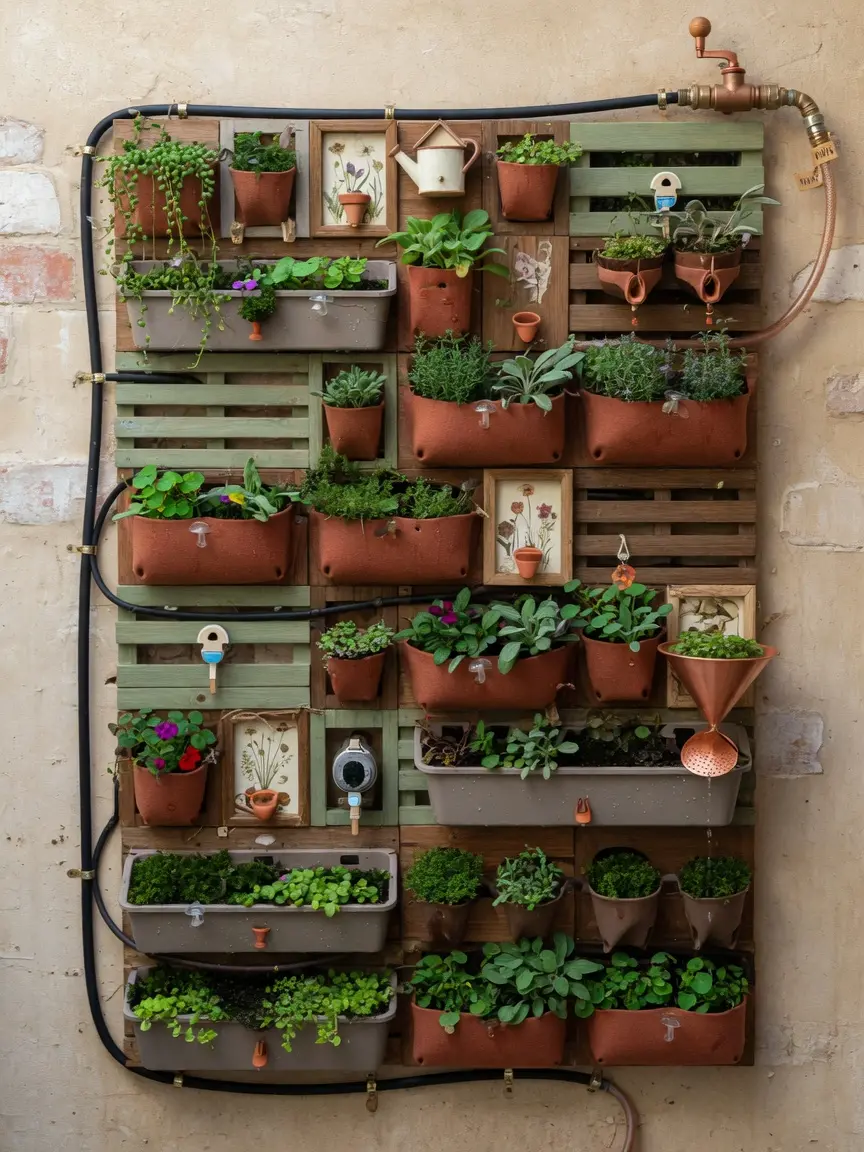
It’s easy to get caught up in planning the look of a vertical garden wall and forget that every plant on it eventually needs water, which is a lot more involved on a vertical surface than watering a few pots on a windowsill. A wall mounted near a water source, a kitchen, bathroom, or even just close to where you keep a watering can, makes the whole system far more sustainable long term.
Some systems include a built in drip irrigation setup, which automates watering on a timer and is worth considering if the wall is large or if you know regular manual watering isn’t realistic for your schedule. For a smaller wall, a simple watering can with a long spout, paired with a consistent weekly schedule, is usually enough.
5. Mix Plant Textures and Heights for a Lush, Layered Look
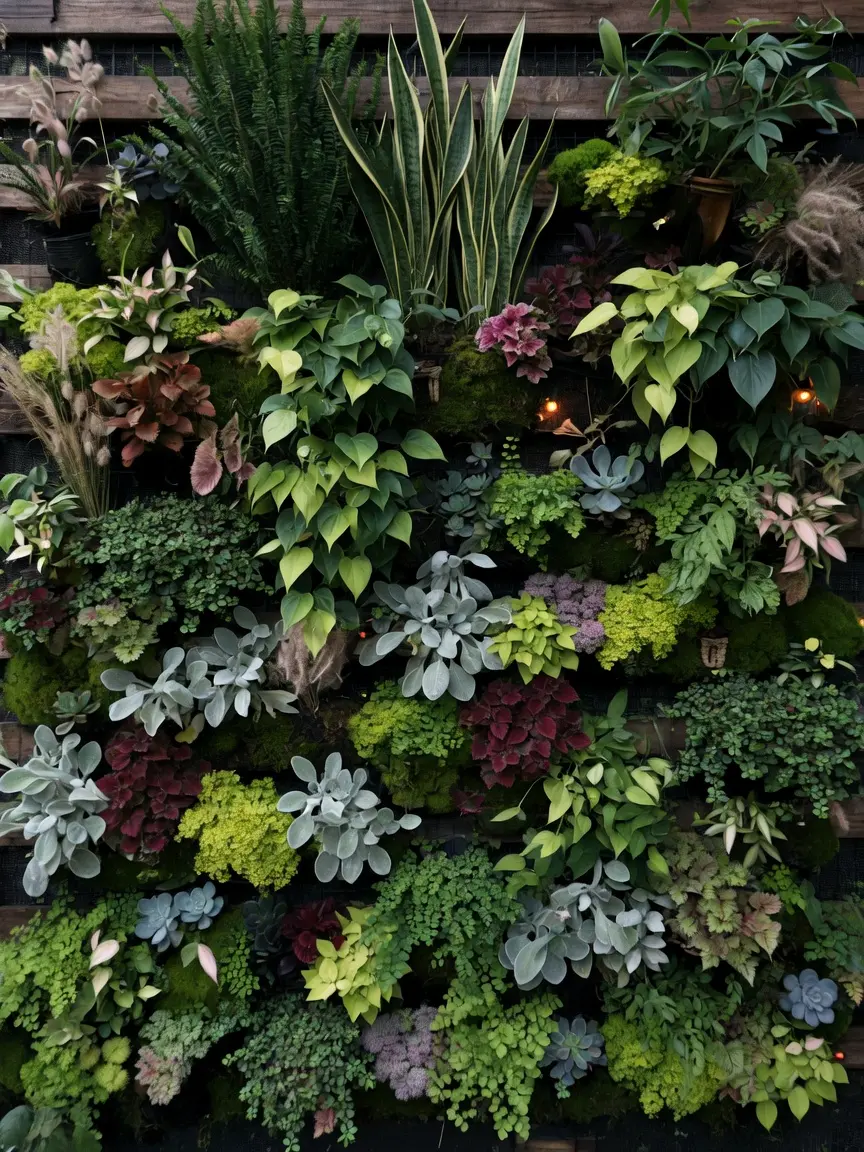
A wall filled with a single plant type tends to look flatter and less lush than one mixing trailing plants, like pothos or string of hearts, with bushier ferns and a few upright or flowering accents. This variety creates the layered, jungle like depth that makes a vertical garden feel genuinely cozy rather than like a uniform grid of identical pots.
Grouping plants loosely by care needs, rather than purely by looks, also makes ongoing maintenance considerably easier, since you’re not trying to remember different watering schedules for plants scattered randomly across the wall. Clustering similar care plants together, even while still varying texture and height, solves both the visual and practical sides of this at once.
6. Consider Wall Protection and Moisture Before You Install Anything
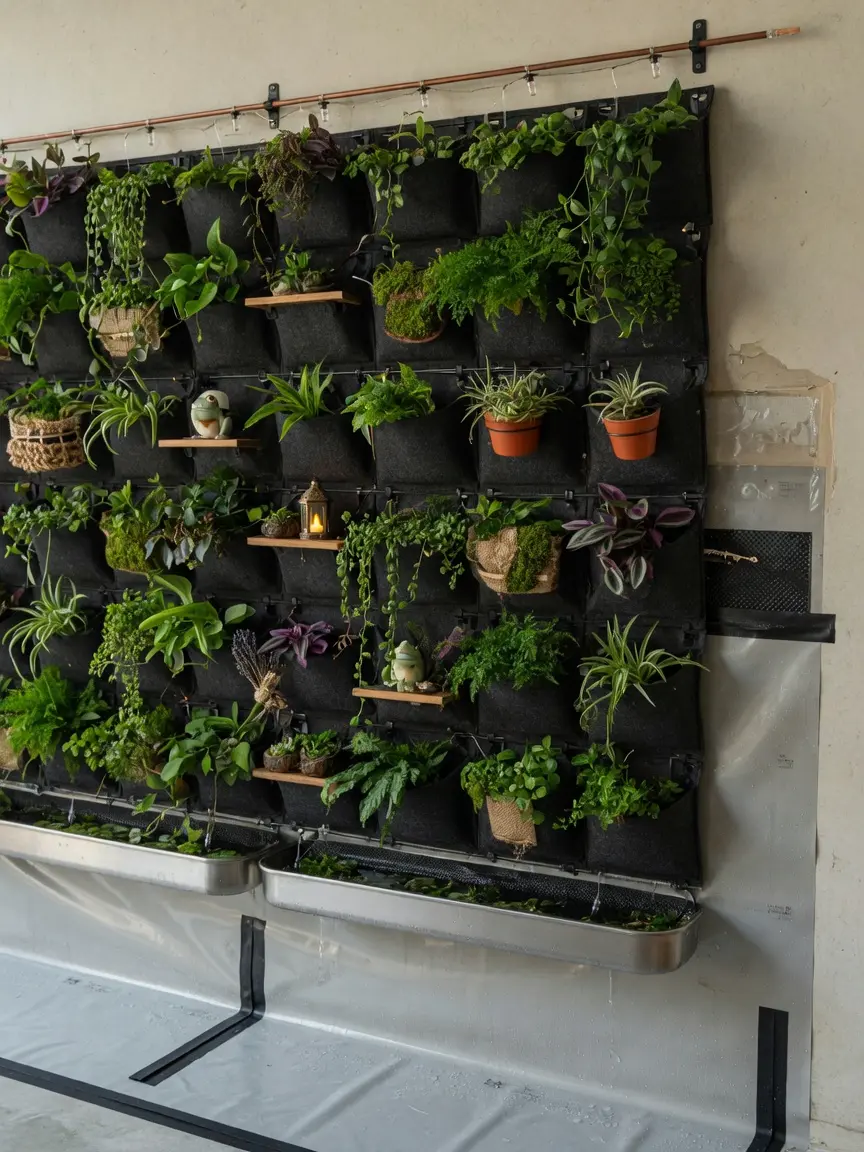
Any planter system holding soil and regular watering introduces moisture risk to the wall behind it, so it’s worth adding a moisture barrier, a simple plastic sheet or specialized backing panel, between the planter system and the actual wall surface. This is especially important for drywall, which can be damaged by consistent moisture exposure over time.
A small gap between the planter system and the wall, even just an inch, also helps with air circulation and reduces the chance of trapped moisture leading to mold. This is one of those steps that’s easy to skip in the excitement of planning the plants, but it matters a lot for how the wall holds up over the following year.
7. Use Grow Lights if the Wall Doesn’t Get Enough Natural Light
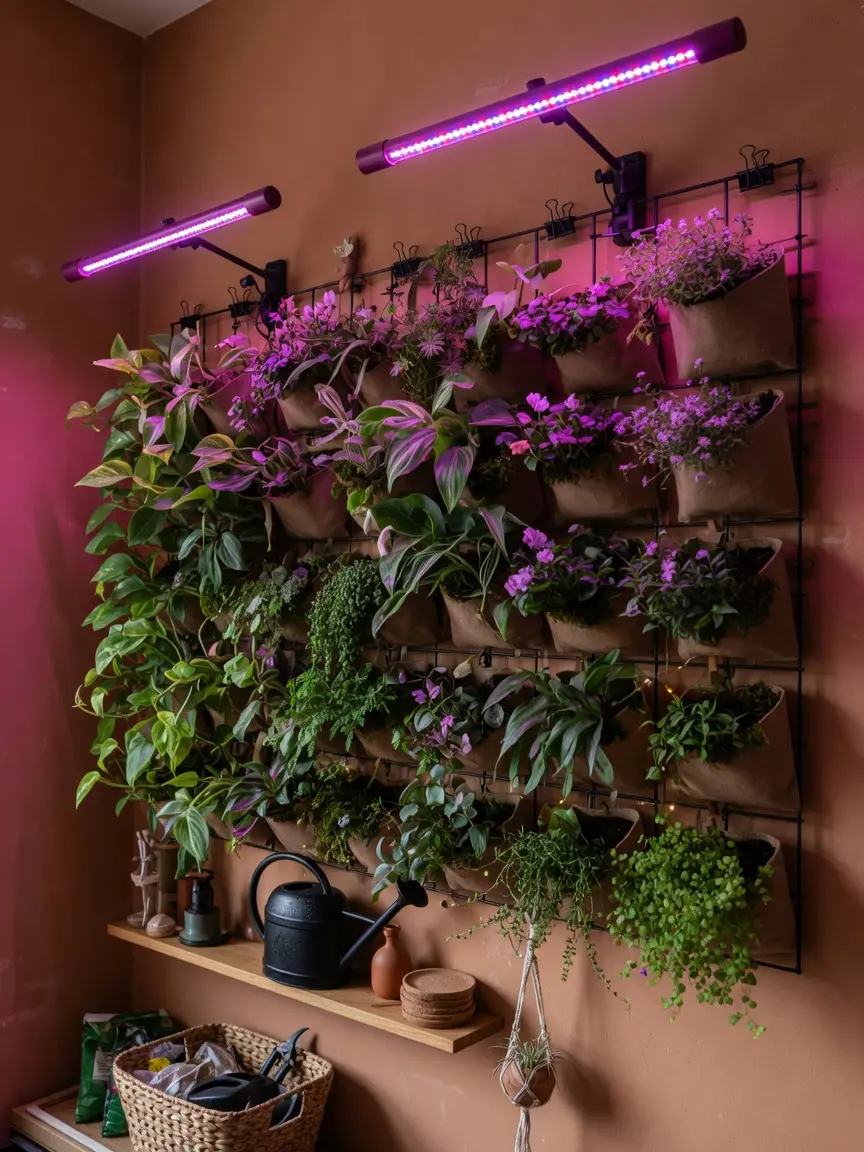
If the wall’s natural light is limited, a slim LED grow light, mounted along the top of the planter system, can keep a wider range of plants healthy than natural light alone would support. Newer grow lights are far less obtrusive than older purple tinted versions, with many now producing a warm white light that blends into a room’s overall lighting rather than standing out.
Running the light on a timer, typically 10 to 12 hours a day, keeps plants on a consistent schedule without requiring you to remember to turn it on and off manually every day. This also means the wall can double as an ambient light source in a dim room during the evening.
8. Start Small With a Test Section Before Committing to a Full Wall
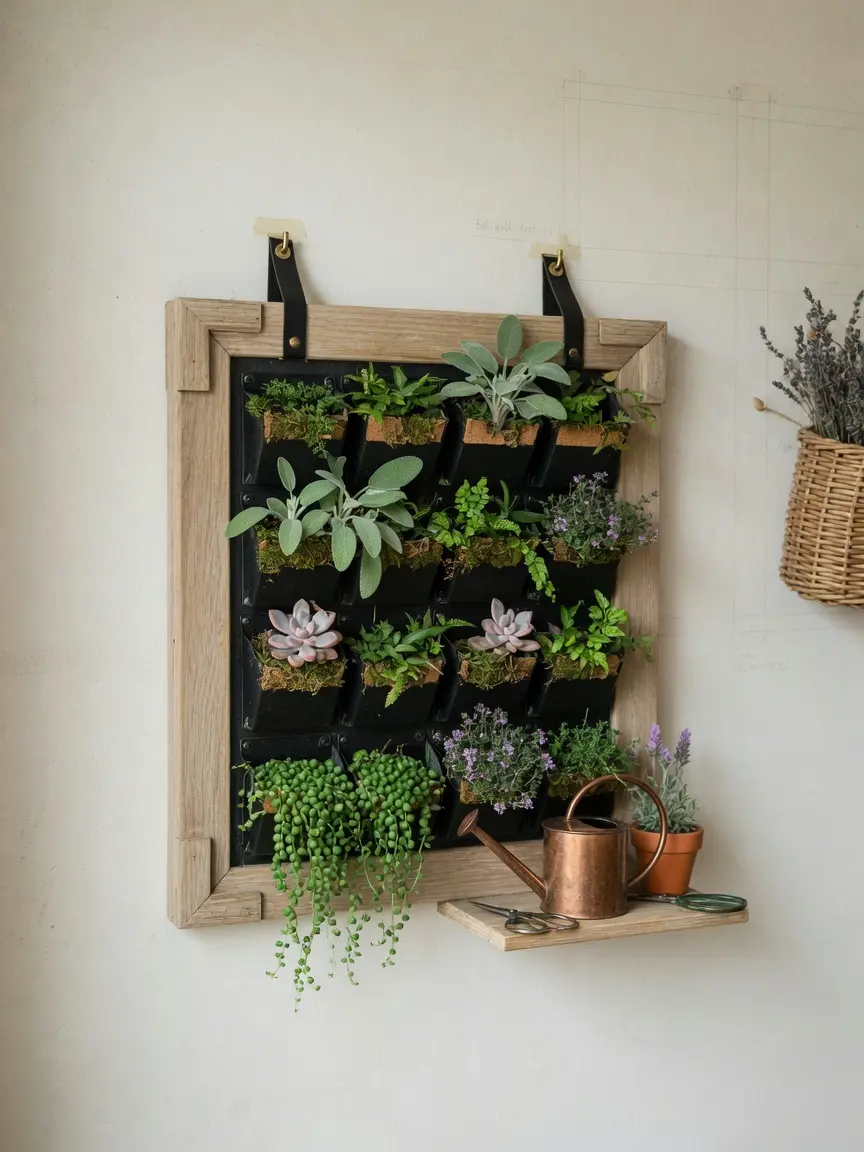
Rather than filling an entire wall at once, it’s worth starting with a smaller test section, maybe a single planter panel or a few pots, and living with it for a month or two before expanding. This lets you learn how the specific light and humidity conditions in that spot actually affect plant health, which is hard to predict perfectly from the start.
Scaling up gradually also spreads out the cost, both in plants and in planter hardware, rather than requiring a large upfront investment before you know the system will actually work well in that particular spot.
9. Layer in Non Plant Elements for a Cozier, Less Clinical Feel
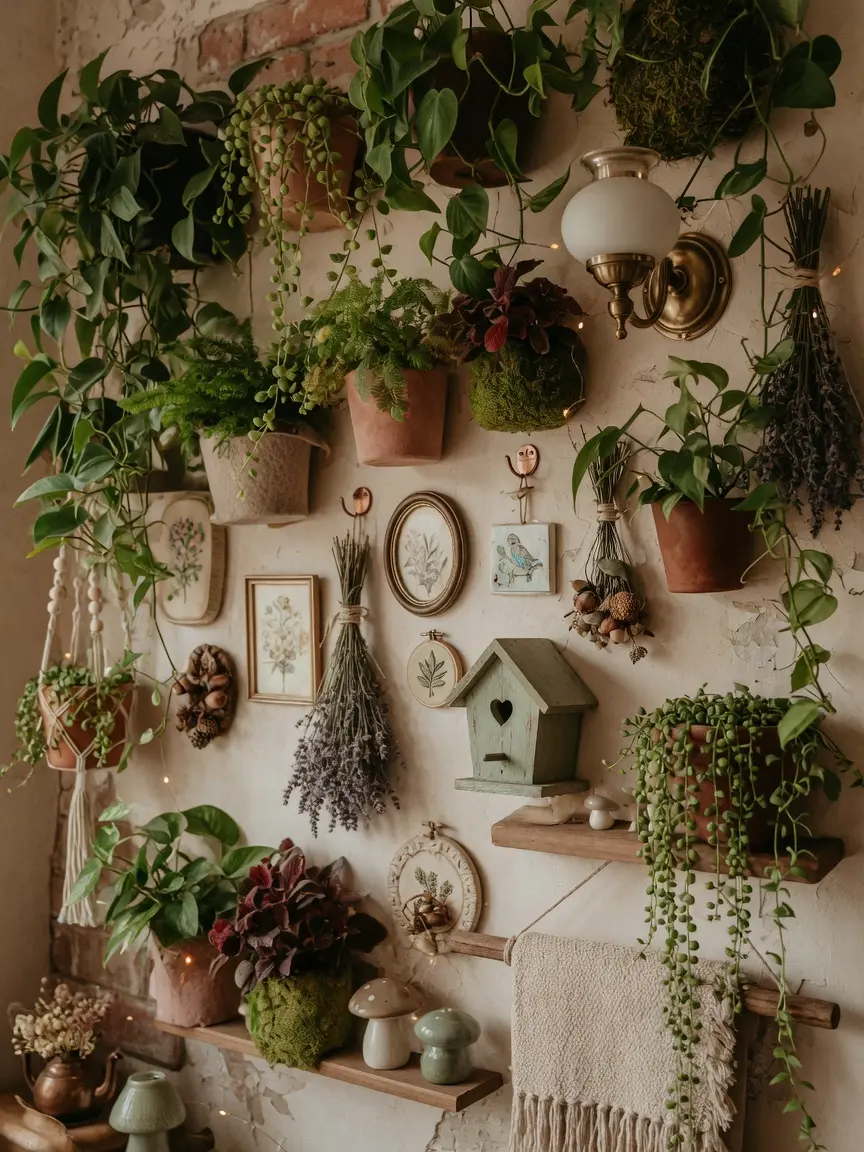
A vertical garden wall made up entirely of uniform planters can start to look more like a display system than a cozy, organic feature. Adding a small wood shelf jutting out from one section, a hanging lantern nearby, or a woven texture somewhere in the frame softens the overall look and ties it into a broader cozy home aesthetic rather than reading as purely functional.
This is also a good spot for a bit of personal character. A small piece of art tucked among the greenery, or a favorite ceramic planter mixed in among more standard pots, keeps the wall feeling curated rather than like an off the shelf install.
10. Maintain the Wall With a Regular Seasonal Check In
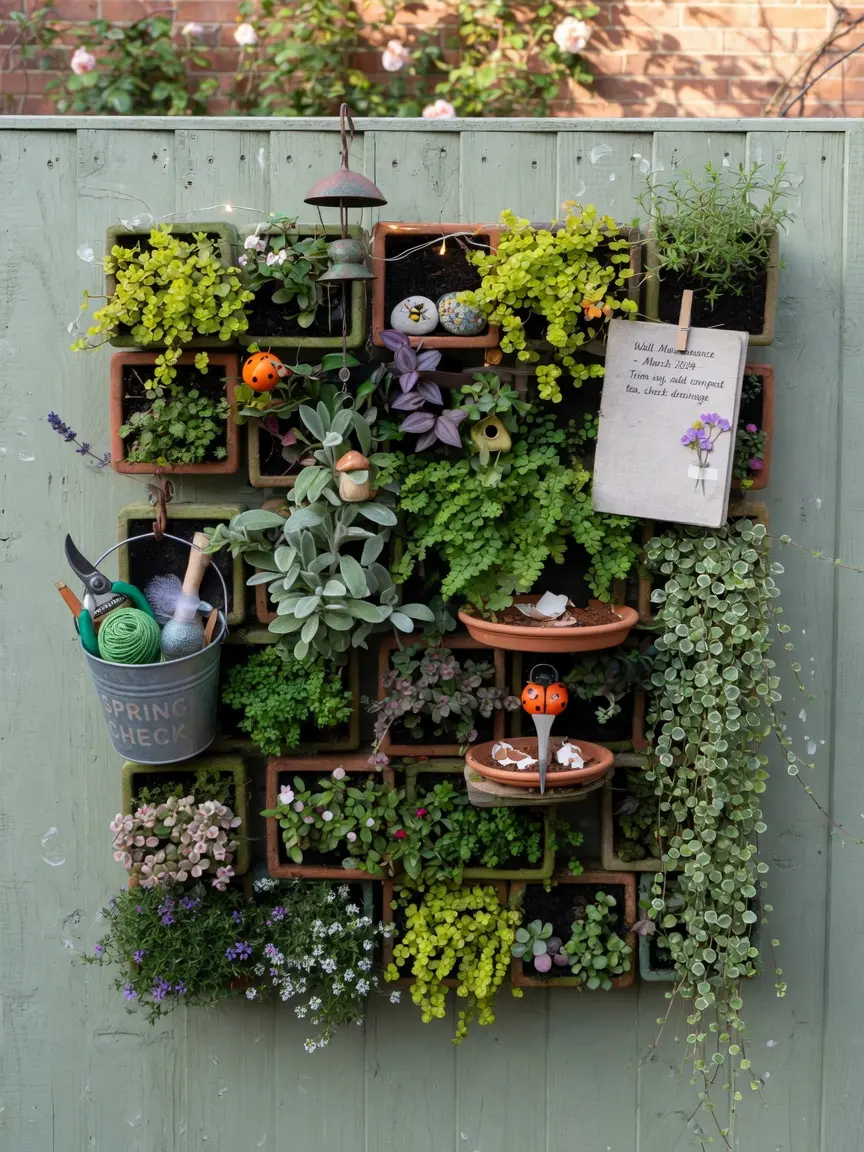
A vertical garden wall isn’t a one time setup and forget project. Plants grow at different rates, some outgrow their spot, others need repositioning as the seasons change and light shifts, and the layout that worked when you first built it may need adjusting every few months.
Checking in on the wall every season, trimming anything that’s gotten leggy, rotating plants for even light exposure, and swapping out anything that hasn’t thrived, keeps the whole wall looking intentional rather than letting parts of it decline unnoticed. This regular attention is really what keeps a vertical garden cozy and lush long term, rather than becoming a wall you eventually stop looking at closely.
Mistakes to Avoid
- Choosing plants before actually observing the wall’s real light levels
- Installing a planter system directly against drywall without a moisture barrier
- Filling the whole wall at once instead of testing a smaller section first
- Using only one plant type, resulting in a flat, uniform look instead of layered texture
- Placing the wall far from any water source, making regular watering unrealistic
- Setting up the wall once and never checking in as plants grow or struggle
Frequently Asked Questions
How much does a vertical garden wall cost to set up? Costs vary widely depending on size and system type, with a simple pocket panel setup for a small section being the most affordable entry point, while a larger modular system with irrigation costs considerably more. Starting with a small test section is a practical way to manage cost while learning what works in your space.
Can a vertical garden wall work in an apartment? Yes, many planter systems are designed to mount without permanent wall damage, using tension rods or removable brackets, which makes them suitable for rentals. It’s worth checking a specific system’s mounting requirements before committing, especially if a security deposit is a concern.
How often do vertical garden walls need watering? This depends on the plant selection and planter system, but many setups need watering anywhere from twice a week to daily during warmer months, especially without an automated irrigation system. A drip irrigation setup on a timer significantly reduces this manual workload.
What plants work best for a low light vertical garden wall? Pothos, ferns, and certain philodendron varieties tend to tolerate lower indirect light better than most flowering plants. If the wall gets very little natural light, pairing these plants with a slim grow light widens your options considerably.
Will a vertical garden wall damage my walls? It can, if installed without a moisture barrier or proper wall protection, since consistent watering introduces moisture risk over time. Using a backing panel, leaving a small air gap behind the planters, and choosing a mounting system appropriate for your wall type all reduce this risk significantly.
Conclusion
A cozy vertical garden wall turns one of the most overlooked spaces in a home, a blank wall, into a genuinely lush, living feature without taking up any floor space. Start by understanding the wall’s real light, choose a planter system that matches your actual care commitment, and protect the wall itself before you get too far into styling. Checked in on regularly, that once empty wall becomes one of the most alive, cozy corners of the whole home.